In the lexicon of residential design, “crown molding” is often misidentified as mere decoration—a cosmetic strip applied to cover the gap between wall and ceiling. This is a fundamental misunderstanding of architectural history. In true classical design, molding is not decoration; it is definition. It represents the entablature, the horizontal superstructure that rests on the columns (walls) of a space.
At Choice Custom Cabinetry & Design, we approach millwork not as carpenters, but as architectural preservationists and engineers. We reject the modern trend of undersized, pre-primed stock moldings. Instead, we advocate for mathematically correct proportions, chemically superior finishes, and joinery that accounts for the hygroscopic nature of wood.
This technical guide serves as a resource for architects, builders, and discerning homeowners who demand to understand the physics and philosophy behind high-end millwork.
The Philosophy of Proportion: “The Decoration of Houses”
The most common failure in modern millwork installation is incorrect scaling. A standard 3-inch or 4-inch crown molding installed in a room with 10-foot ceilings creates a visual dissonance. It appears flimsy and structural irrelevant.
The Authority Perspective
In their seminal 1897 text, The Decoration of Houses, Edith Wharton and Ogden Codman Jr.—the designers who defined the aesthetic of the American Gilded Age—argued vehemently against the shrinking of architectural elements. They posited that the upper trim of a room must correspond to the Classical Orders (Doric, Ionic, Corinthian).
“The cornice is not a mere ornament… it is a structural member, the crowning feature of the wall… To reduce it to a mere line of plaster or wood is to destroy the architectural significance of the room.” — The Decoration of Houses (Paraphrased/Adapted context)
The “Choice” Standard: Mathematical Scaling
We do not guess at sizes. We apply the Classical Rule of Proportion. Historically, the full entablature (Cornice + Frieze + Architrave) should represent approximately 1/5th to 1/6th of the room’s total height.
- For a 9-foot ceiling (108 inches): The total crown assembly should ideally be 5–7 inches.
- For a 12-foot ceiling (144 inches): A single molding strip is insufficient. The assembly requires a build-up of 9–12 inches to hold visual weight.
Our Stance: If a client requests a standard 4-inch crown for a 10-foot ceiling, we will advise against it. We believe it is better to have no molding than incorrectly scaled molding.
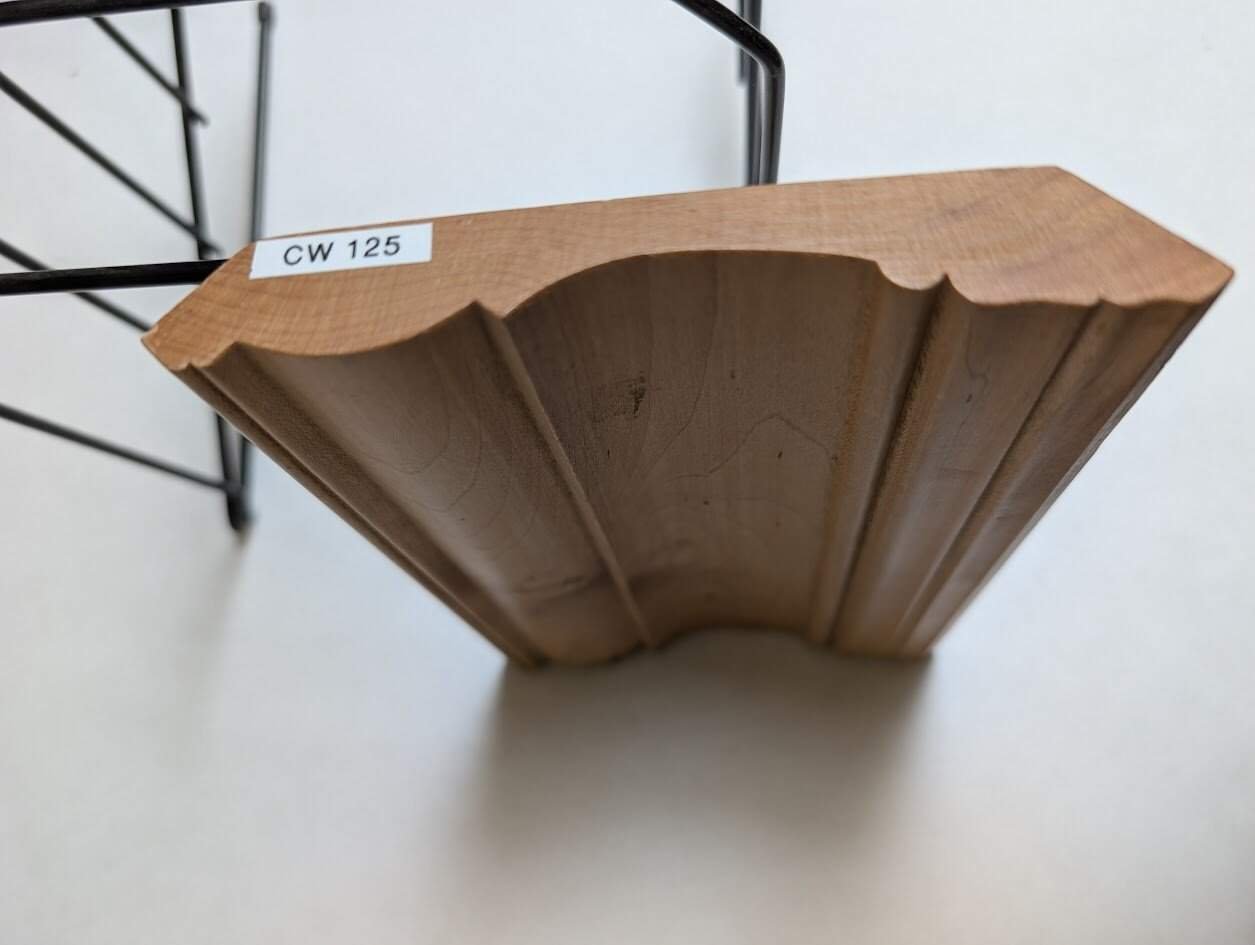
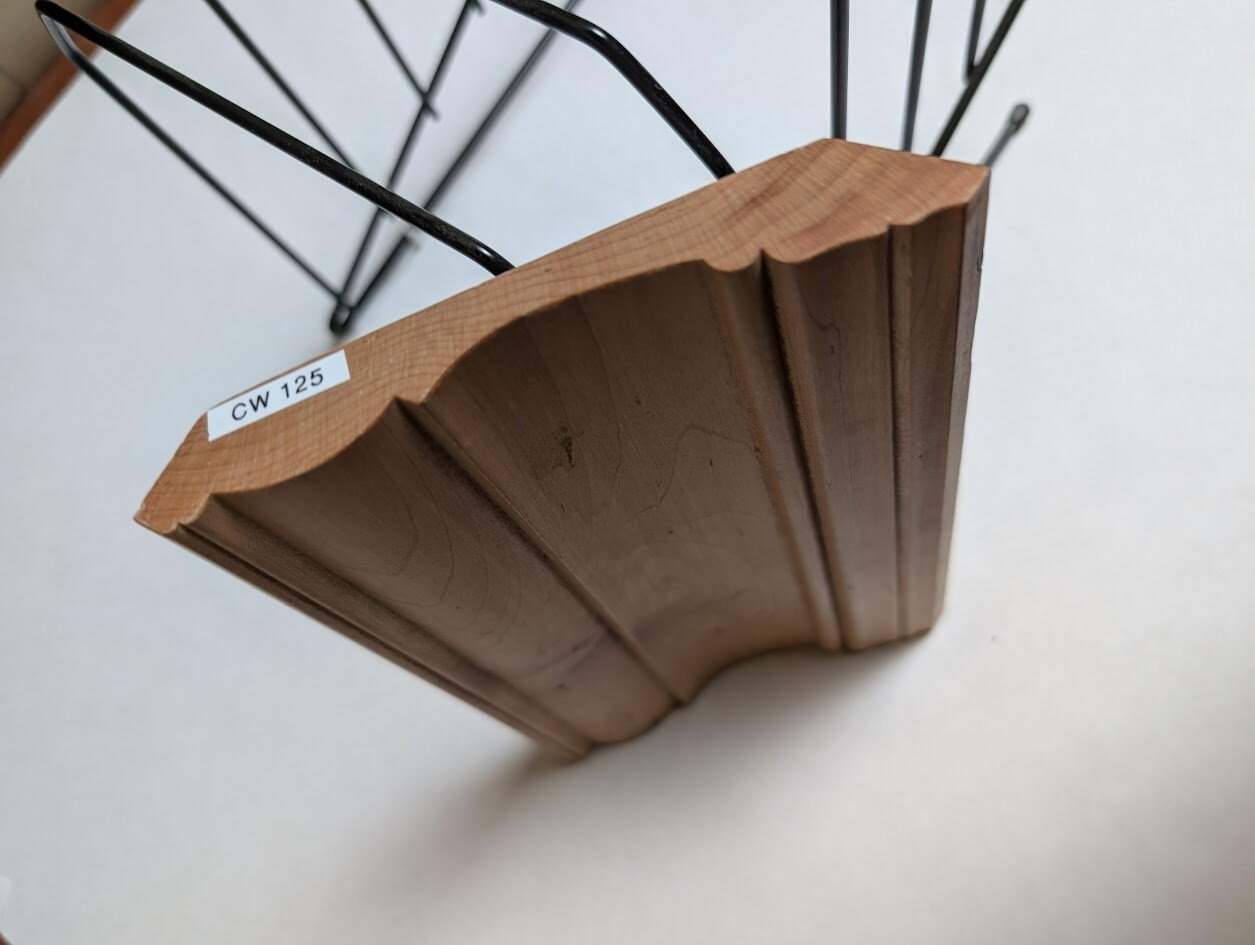
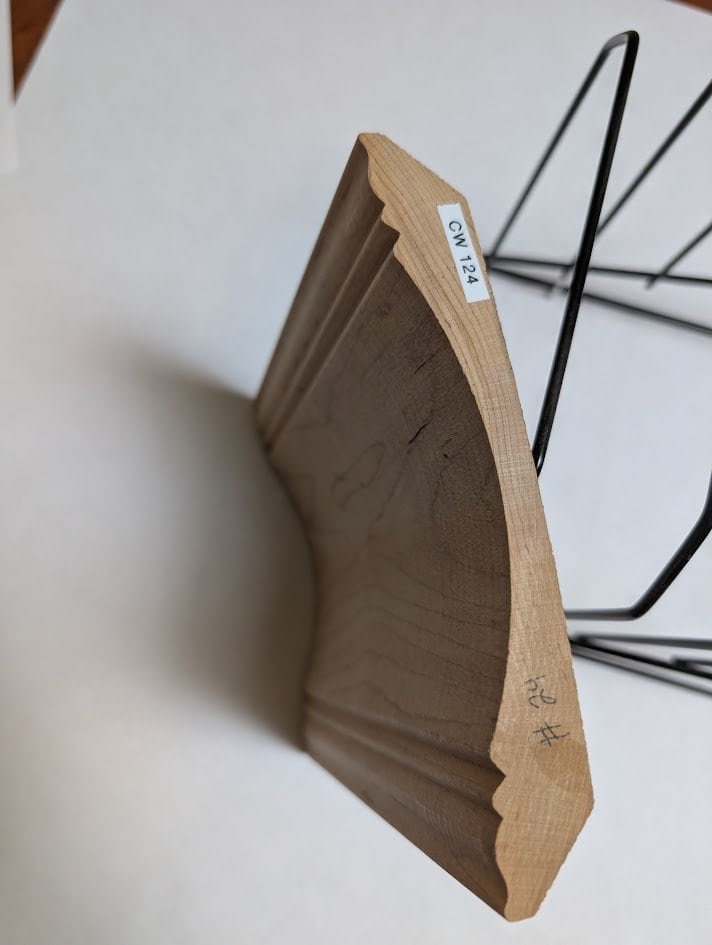
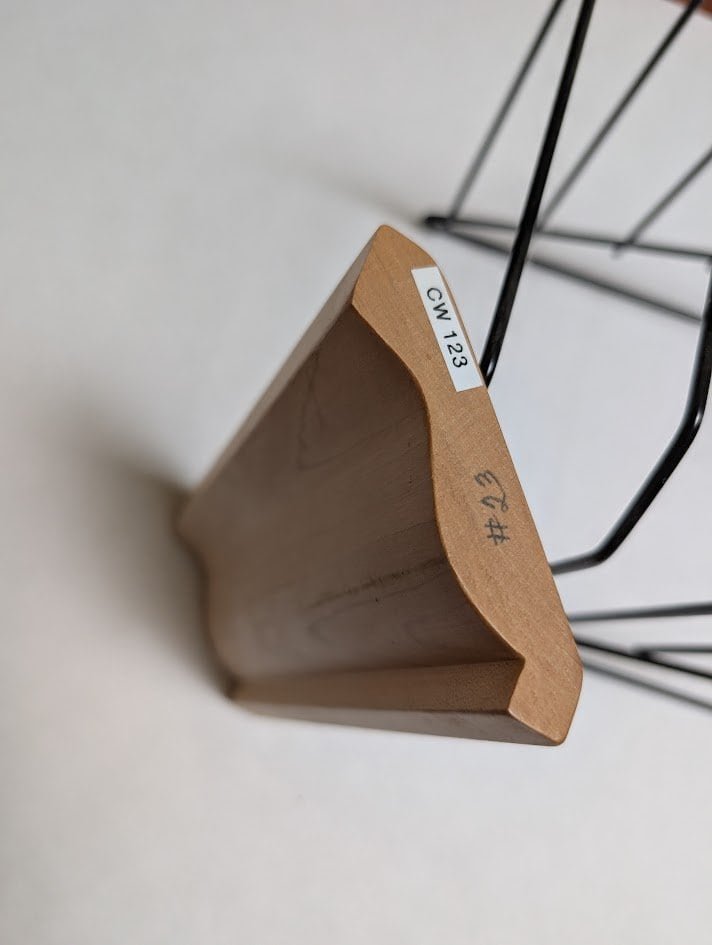
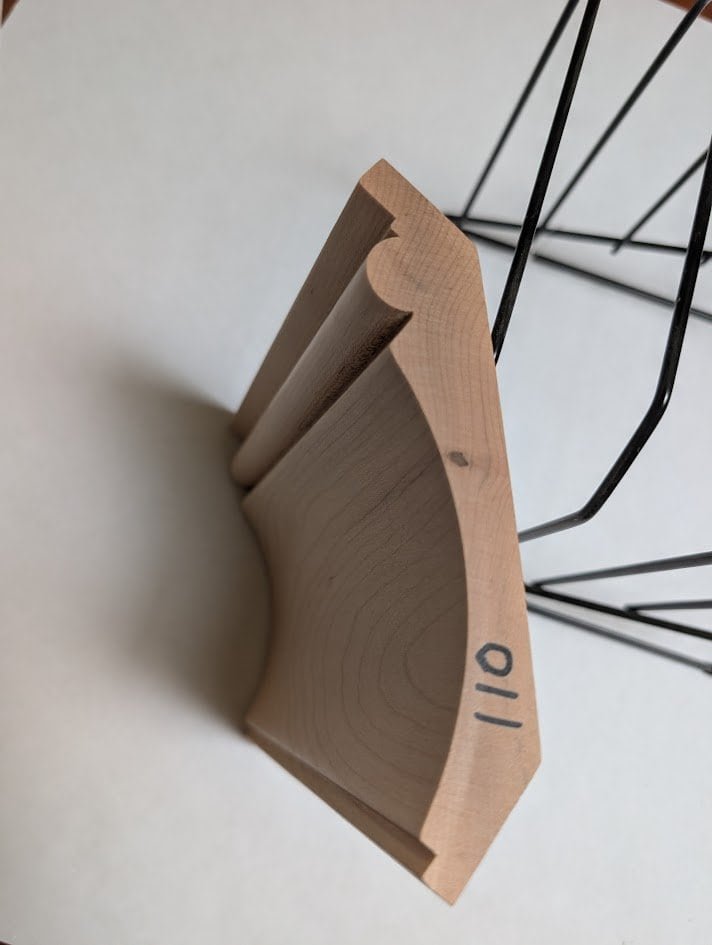
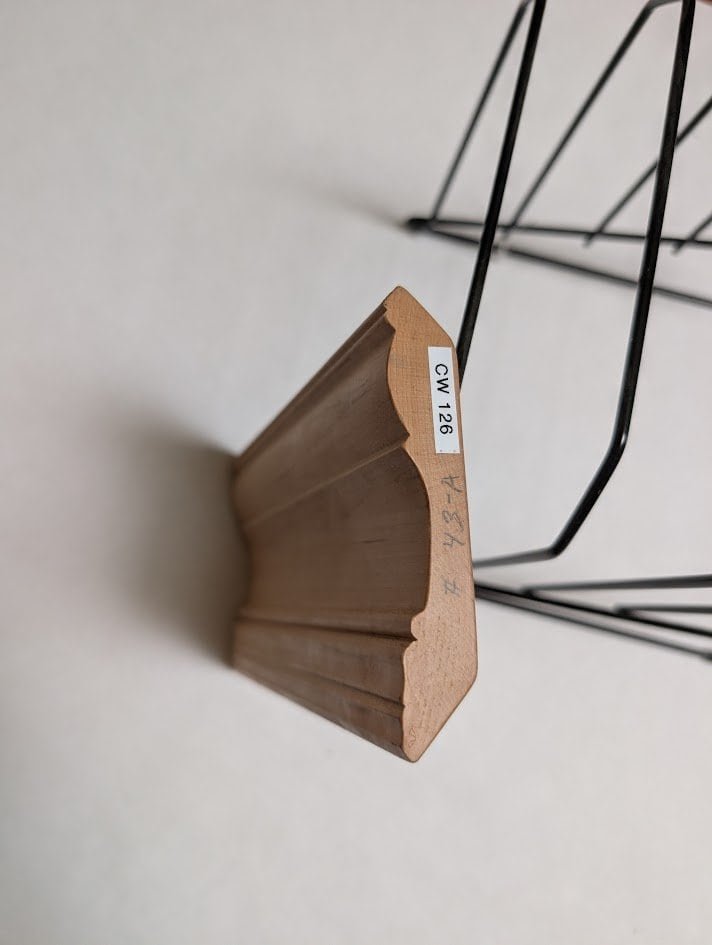
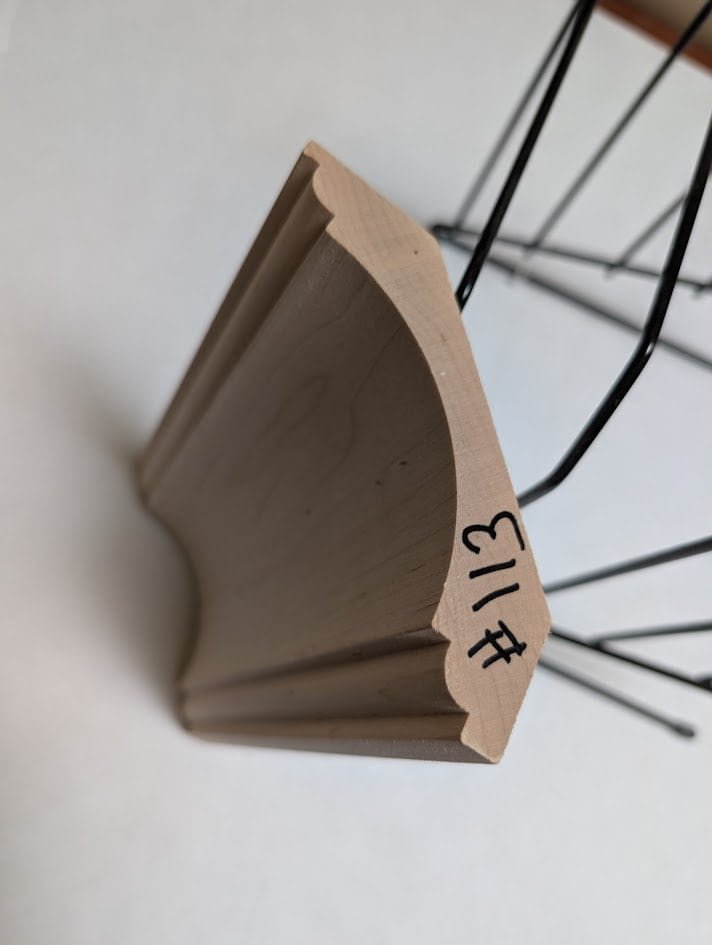
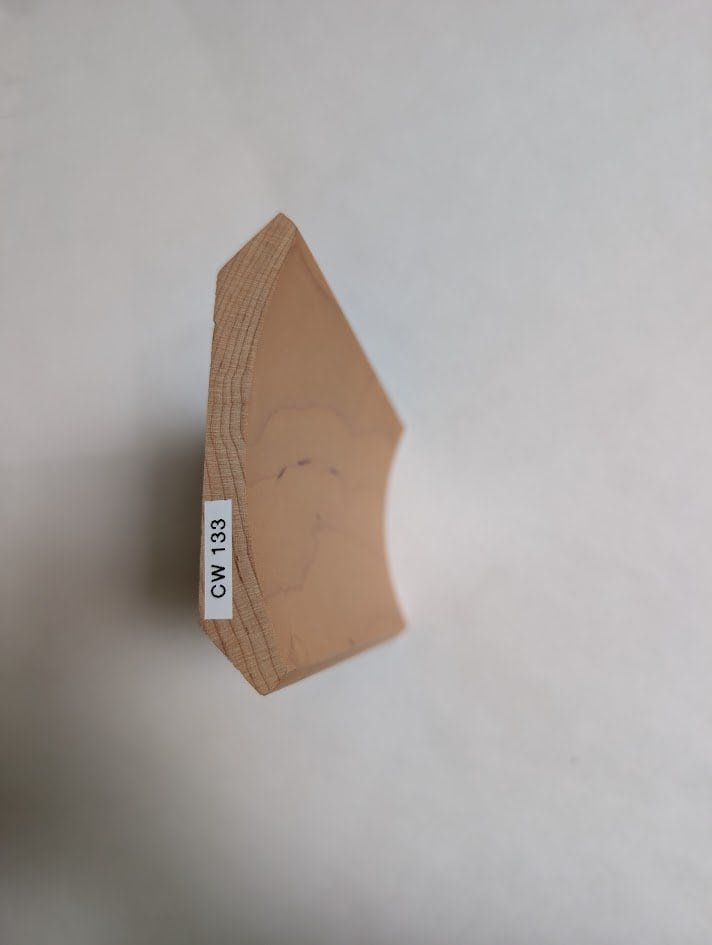
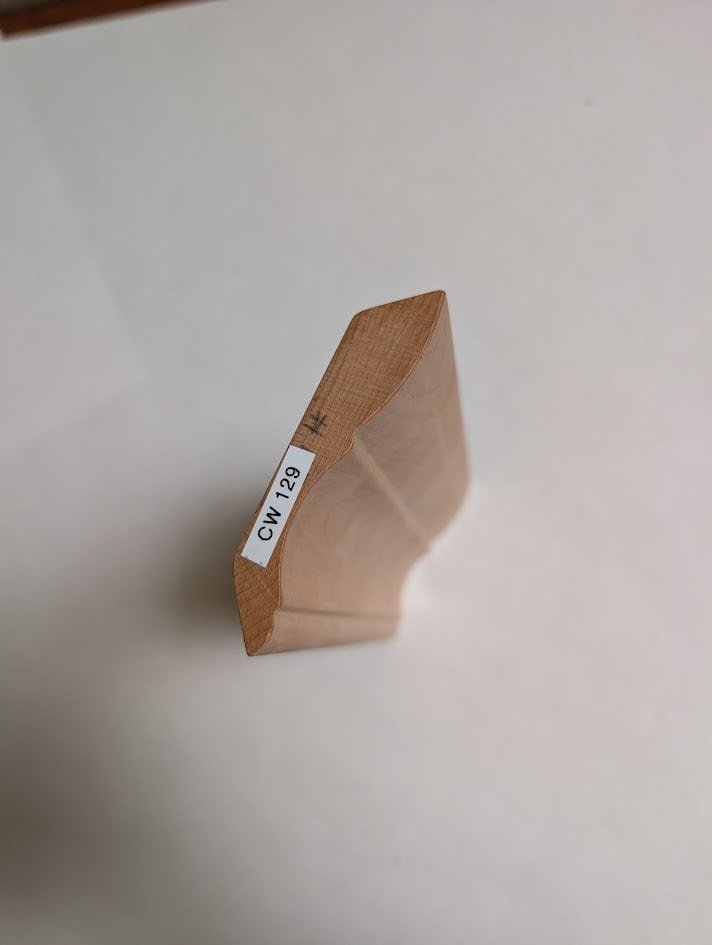
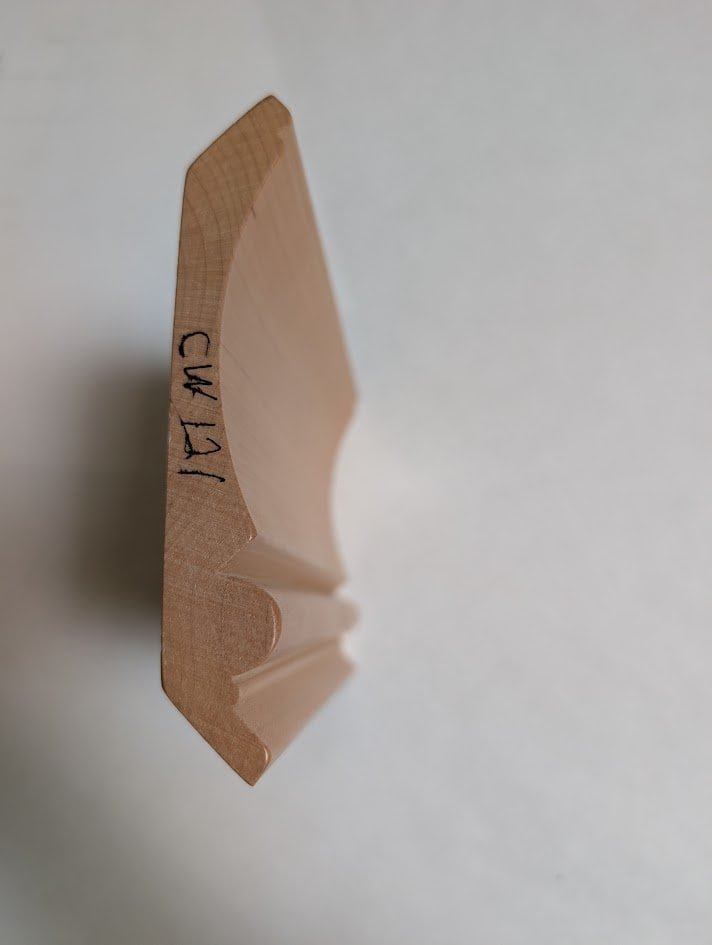
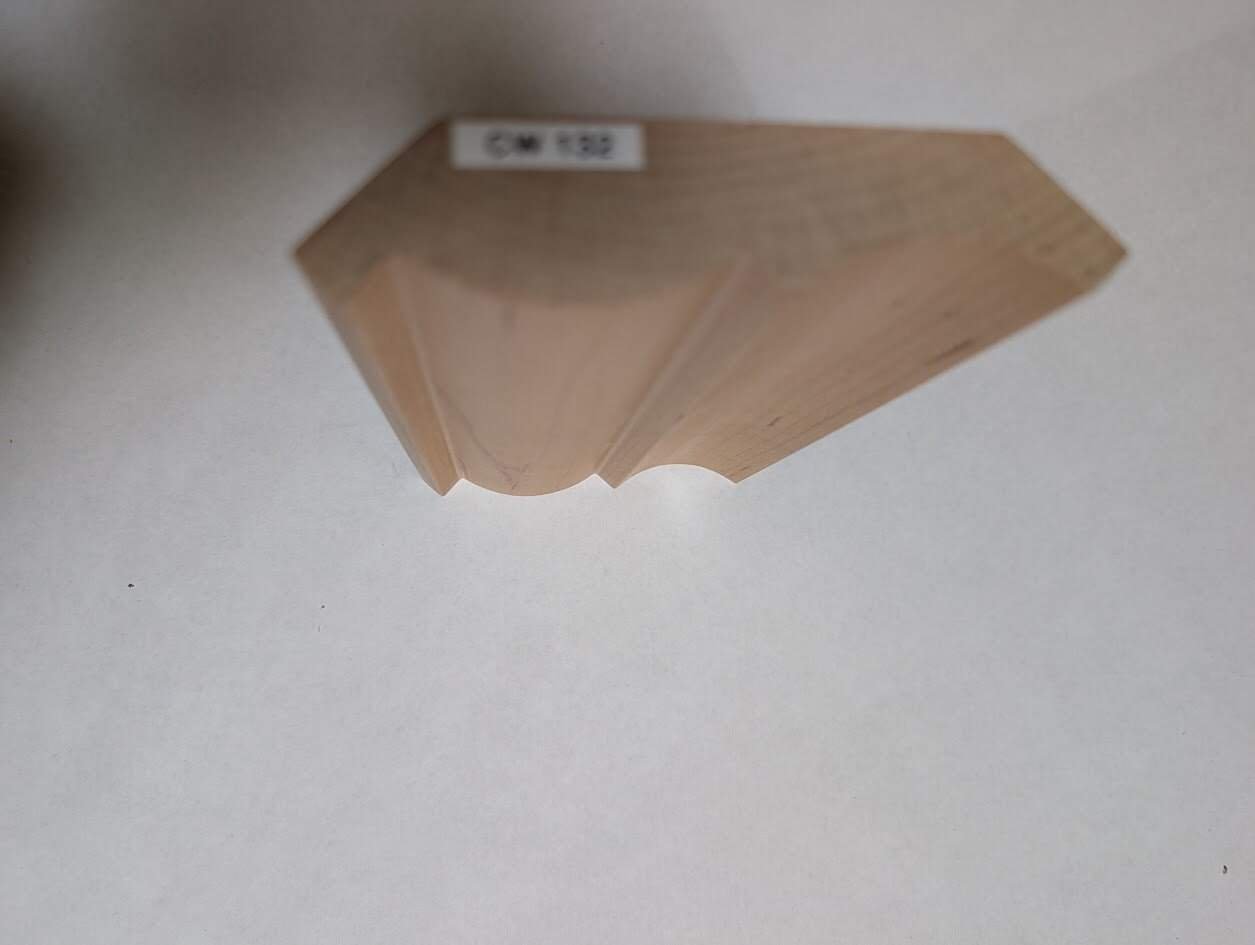
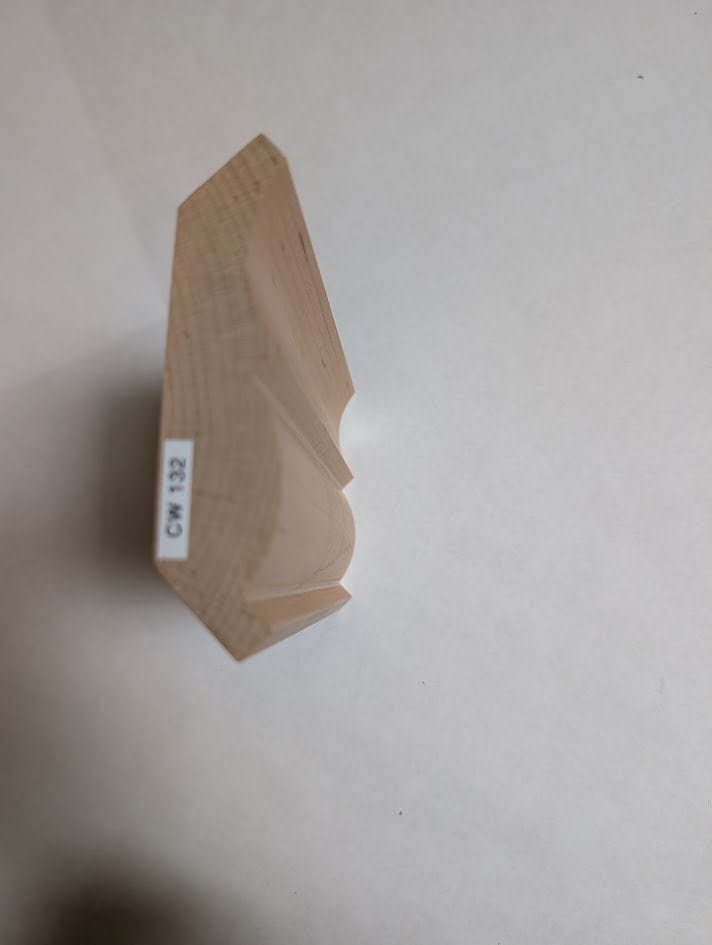
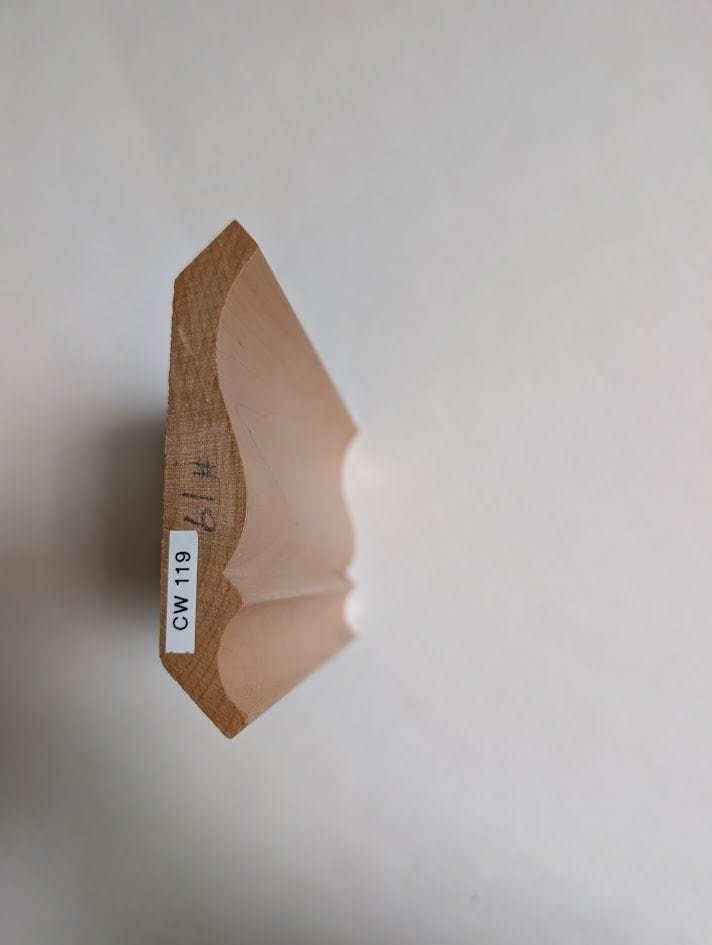
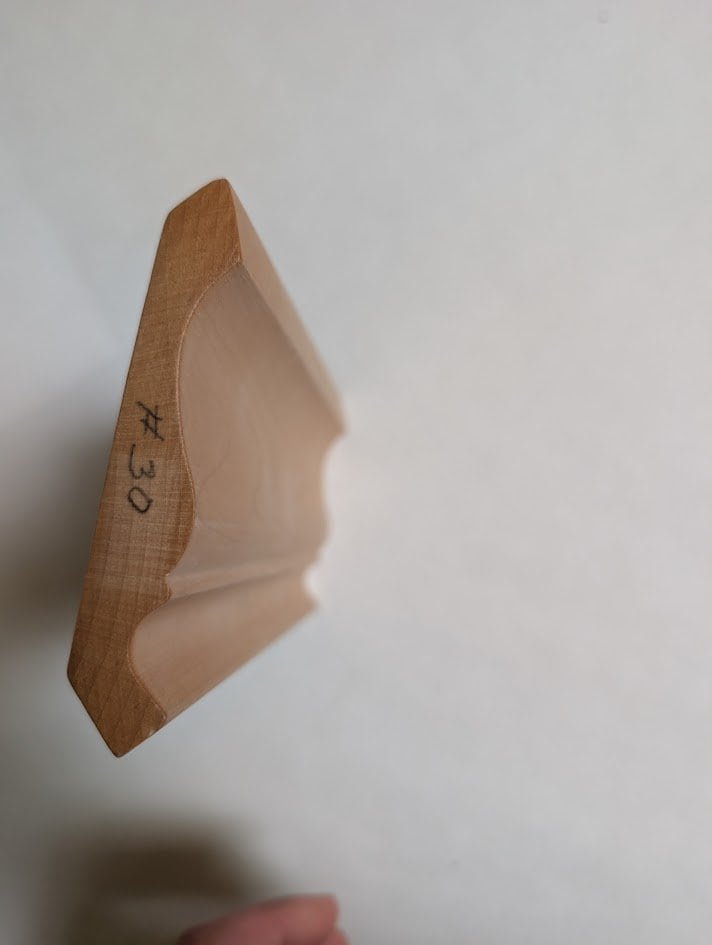
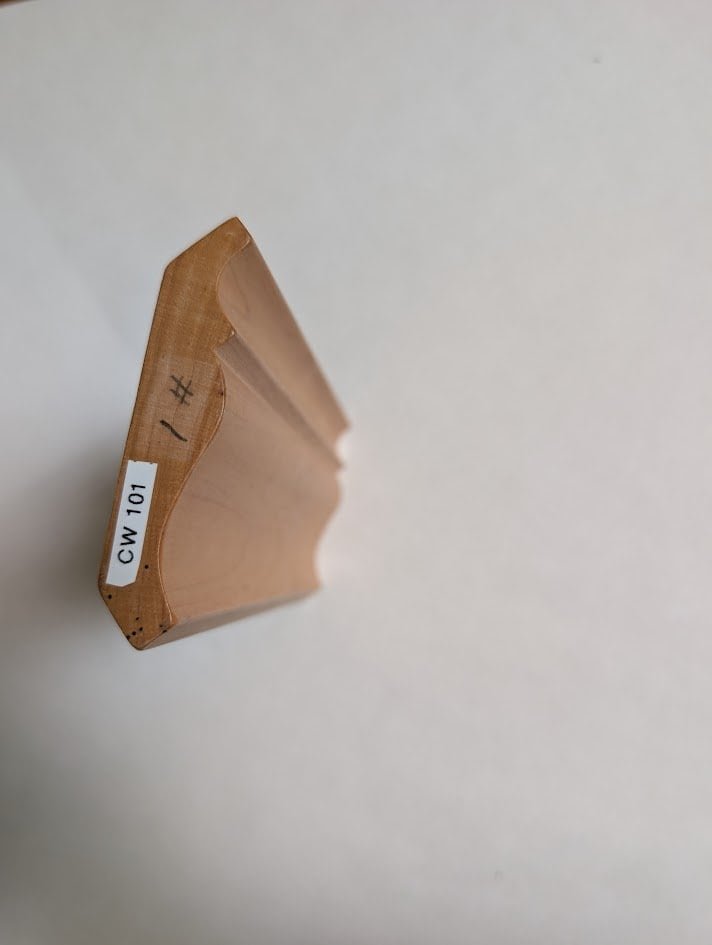
Anatomy of a Build-Up: The Entablature Method
To achieve the necessary scale without using massive, heavy, and unstable logs of wood, we utilize Molding Build-Ups. This is the assembly of multiple smaller profiles to create a cohesive, massive whole. This technique mirrors the classical Entablature.
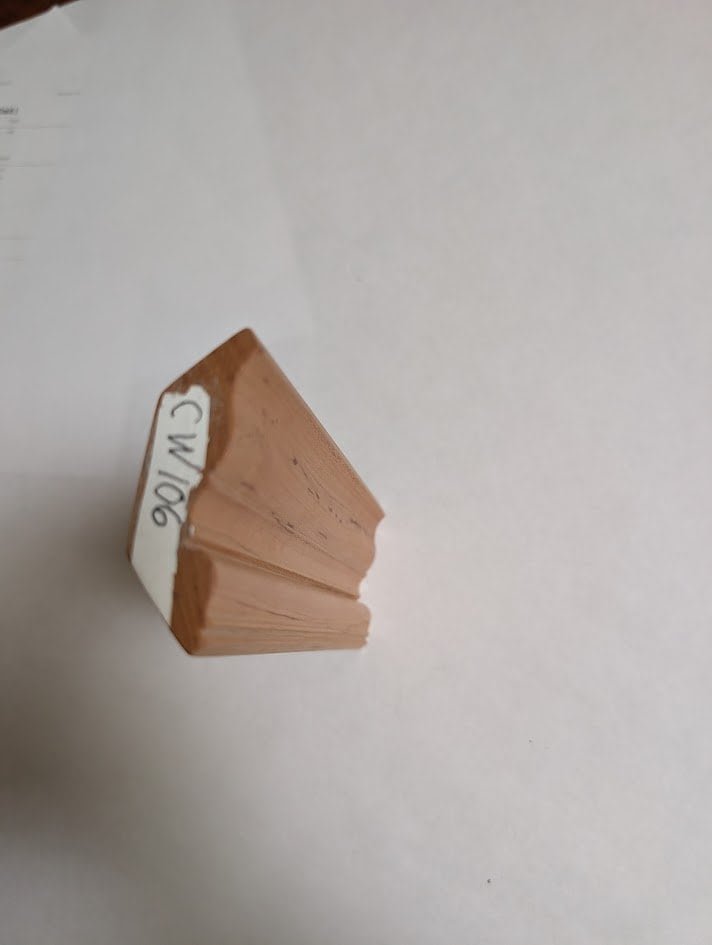
1. The Architrave/Frieze (The Anchor)
The bottom-most element. We often use a flat S4S (Surfaced 4 Sides) board, known as a frieze board.
- Function: It extends the verticality of the molding down the wall, effectively lowering the visual ceiling line to make the room feel more intimate while adding grandeur.
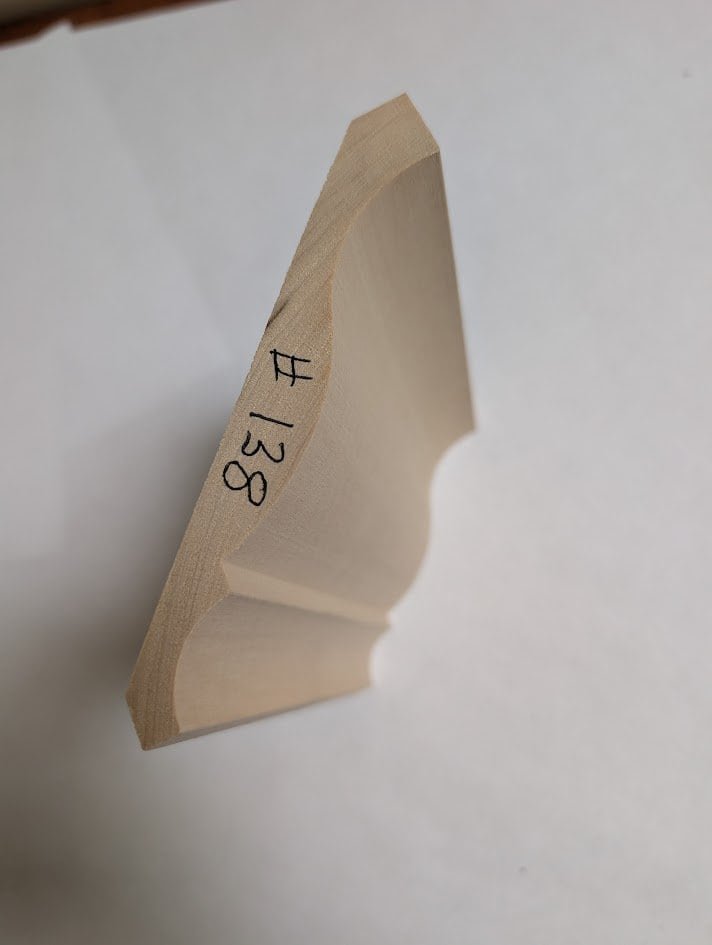
2. The Bed Mold (The Support)
Placed at the top of the frieze board.
- Function: Visually supports the projecting corona (crown). It usually features a dentil or egg-and-dart pattern in traditional orders.
3. The Corona/Cymatium (The Crown)
The primary springing profile that bridges the wall and ceiling.
- Geometry: Typically a Cyma Recta (concave top, convex bottom) or Cyma Reversa.
- Spring Angle: We utilize different spring angles (38°/52° vs. 45°/45°) depending on how far into the room the molding needs to project.

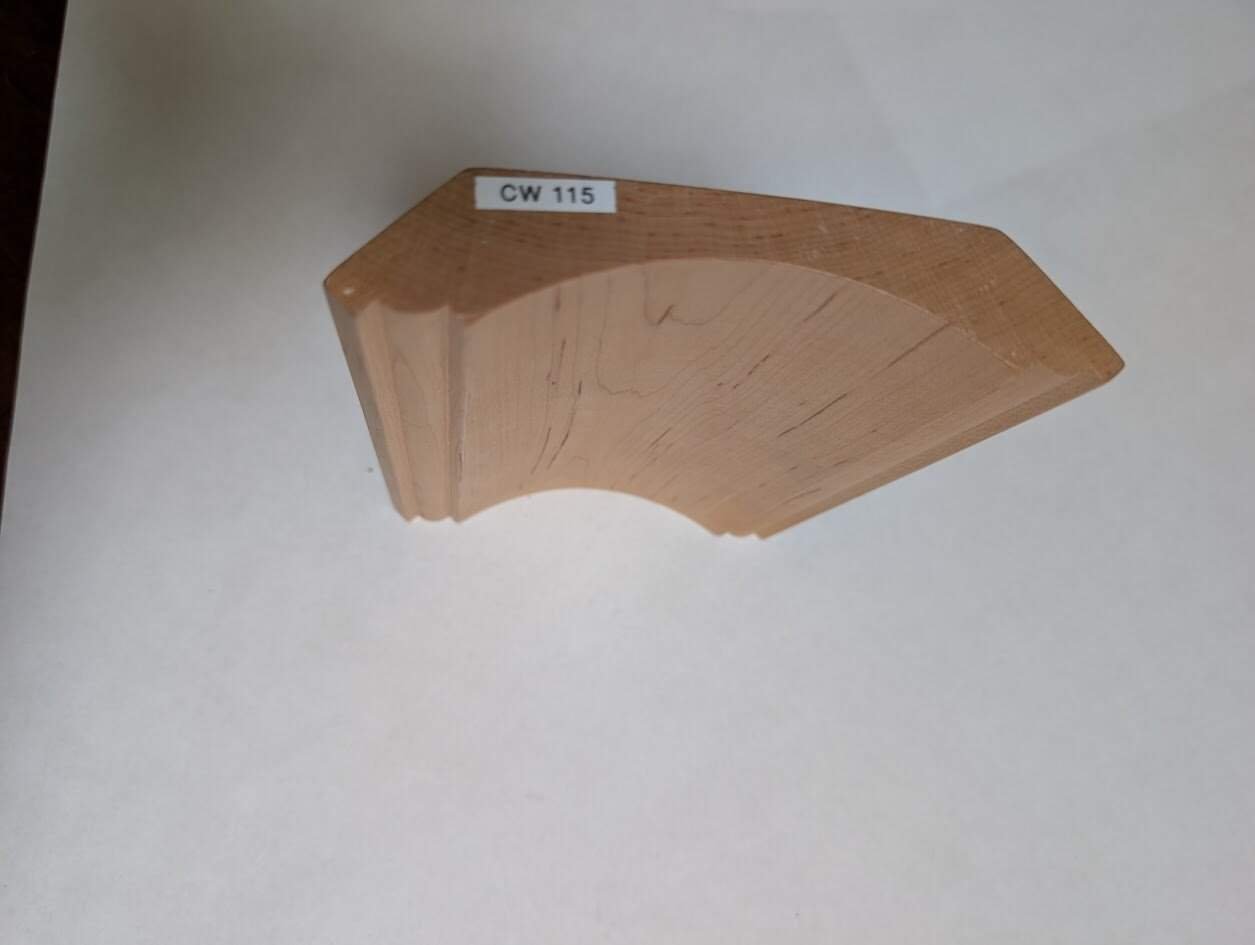
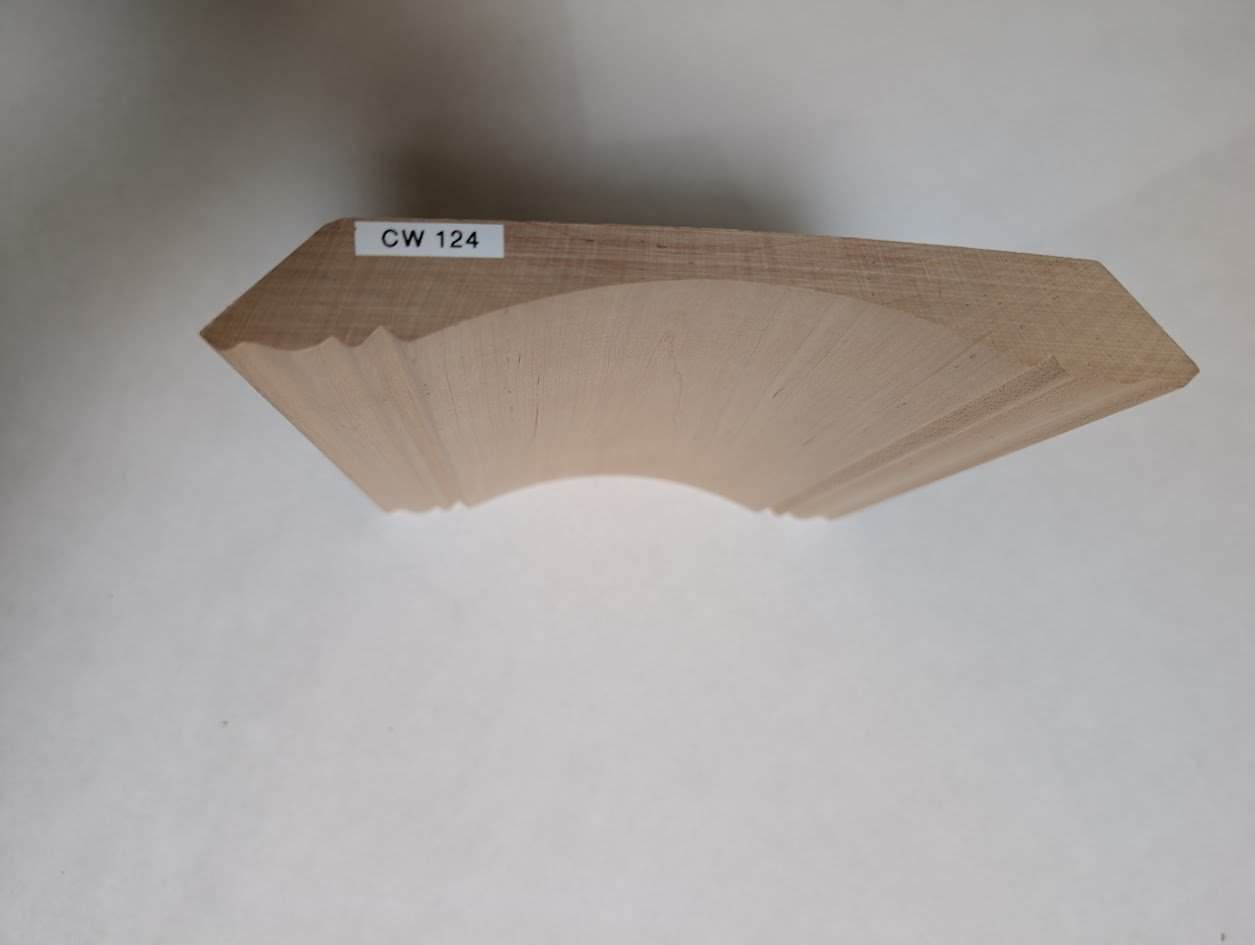
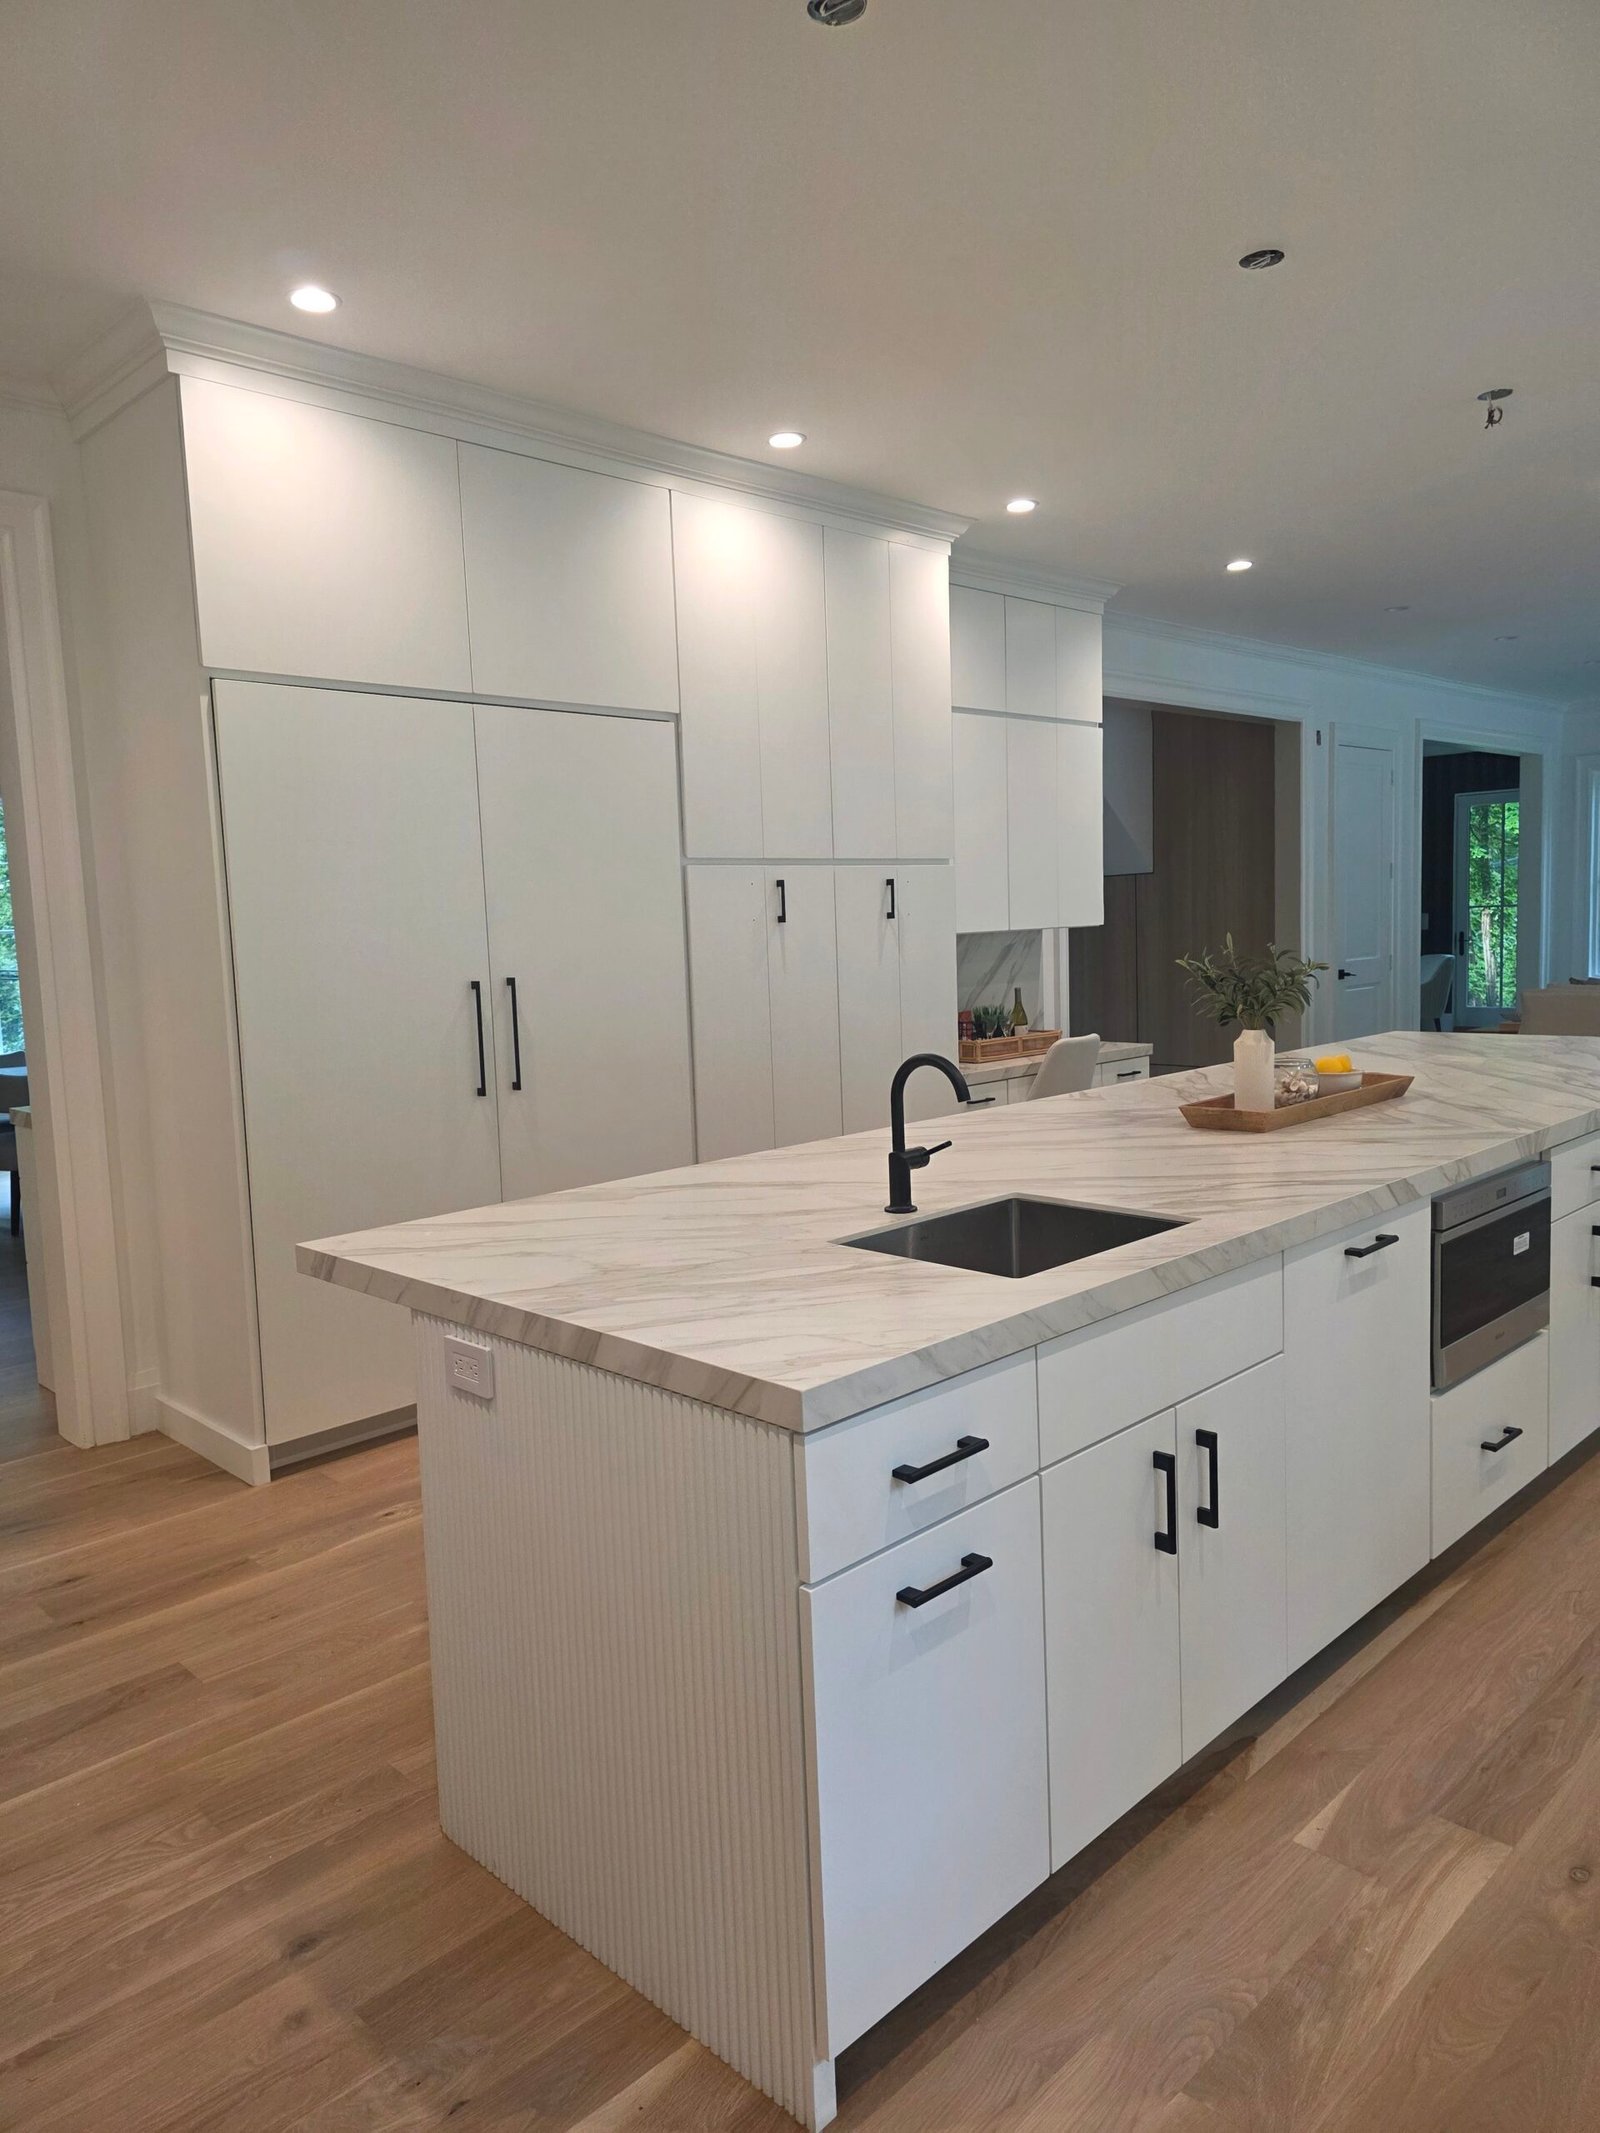
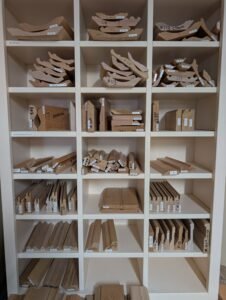
See examples of complex build-ups in our Project Gallery
Material Science: Hygroscopy and Stability
Wood is an orthotropic material – it has different properties along three axes. It is also hygroscopic, meaning it gains and loses moisture content (MC) based on the relative humidity (RH) of the environment.
The “Big Box” Failure
Standard lumber yards sell “Finger-Jointed Pine.”
- The Issue: Pine is soft (Janka rating ~380-420 lbf). The finger joints (where short pieces are glued together) often telegraph through the paint after a year of seasonal movement, creating visible vertical lines in your molding.
The Choice Custom Material Protocols
The longevity of a molding installation is determined by the dimensional stability of the substrate. Wood is hygroscopic, meaning it gains and loses moisture content (MC) based on the relative humidity (RH) of the environment.
We strictly categorize our materials based on the intended finish, using only verified board stock.
1. Stain-Grade Specifications (Hardwoods)
For transparent finishes where grain definition is paramount, we utilize specific hardwood species. According to our current board stock inventory, we prioritize:
- Q.S.W.O (Quarter Sawn White Oak): Listed explicitly in our inventory, this is the premier choice for Arts & Crafts or Mission style homes. By cutting the log perpendicular to the growth rings, we reveal the “medullary rays” (flecks) and create a board that is significantly more stable (less prone to cupping) than plain sawn oak.
- Rift Cut White Oak: Also available in our stock. Unlike Quarter Sawn, Rift Cut minimizes the “flake” and produces a tight, straight vertical grain. This is the architectural standard for modern and contemporary aesthetics where a clean, linear look is required.
- Walnut & Cherry: For traditional libraries and formal dining rooms, we stock Walnut and Cherry. These woods develop a rich patina over time (Cherry darkens, Walnut lightens) and require UV-inhibiting topcoats.
2. Paint-Grade Specifications
For painted finishes, the substrate must provide a glass-smooth surface.
- Paint Grade (Poplar/Maple): As noted in our stock list, our “Paint Grade” typically refers to dense hardwoods like Poplar or Soft Maple, not soft Pine. Poplar has a specific gravity of roughly 0.42, making it hard enough to resist denting but smooth enough to accept primer without grain raise.
We adhere to the Architectural Woodwork Institute (AWI) standards for lumber grades. Learn more about AWI Standards here.
Installation Engineering: The Geometry of the Joint
A crown molding installation is only as good as its weakest joint. The weakest point is always the inside corner.
The Mathematics of the Coped Joint
Amateur installers use a Miter Joint (bisecting the angle at 45°).
- The Physics of Failure: Wood shrinks across the grain, not with the grain. When the two mitered pieces shrink in winter dry heat, they pull away from each other. The geometry of a miter joint guarantees that any shrinkage opens a visible gap.
The Choice Method: Coping We use the Coped Joint method.
- One piece of molding is cut square and installed flat against the wall.
- The adjacent piece is cut to the molding’s specific profile (the negative space).
- We back-bevel the cut (undercutting it at an angle greater than 90°).
- The Result: The coped piece acts as a sleeve. When the square-cut piece shrinks, the coped piece slides further over it. The joint remains visually tight because the profile overlaps the gap. This is the hallmark of master carpentry.
Nailing and Blocking
We do not rely on finding studs by luck. For large build-ups, we install continuous blocking (a wooden nailer) behind the drywall or plaster. This ensures that the heavy architectural elements are mechanically fastened to the structure of the house, not just the gypsum board.
Frequently Asked Technical Questions (FAQ)
Q: Can you match a historic profile that is no longer in production? A: Yes. This is a core part of our business. We take a physical sample of your existing trim (or a CAD drawing), trace the geometry, and grind custom steel knives for our moulder. We can replicate 100-year-old plaster or wood profiles to within 1/1000th of an inch.
Q: What is the ideal moisture content for installation? A: For Pennsylvania (Mid-Atlantic climate), interior woodwork should be installed when the wood is at 6-8% moisture content. Crucially, the wood must be allowed to acclimate in the home (with HVAC running) for a minimum of 72 hours prior to installation to reach equilibrium moisture content (EMC).
Q: Why do you prefer 16-foot lengths? A: Standard lumber comes in 8 or 10-foot lengths. This necessitates “scarf joints” (splicing pieces together) in the middle of a wall. We source 16-foot clear lumber whenever possible to run full lengths wall-to-wall, eliminating scarf joints entirely for a cleaner aesthetic.
Q: Can you install molding on uneven/plaster walls? A: Yes. This requires a technique called scribing. We do not force the wood to bend to the wall (which causes popping later). Instead, we transfer the irregularities of the wall onto the back of the wood and plane it down. The wood sits relaxed against the uneven surface.
Conclusion: The Investment in Precision
Architectural millwork is an asset. Unlike paint or wallpaper, which are consumable, high-quality molding becomes part of the deeded structure of the home. It increases appraisal value and defines the character of the space.
At Choice Custom Cabinetry & Design, we refuse to compromise on materials or engineering. We believe that if a job is worth doing, it is worth doing to the standards of the Masters.
Ready to discuss your project specifications? Contact our design team to schedule a site evaluation or visit our workshop to see our profiles in person.