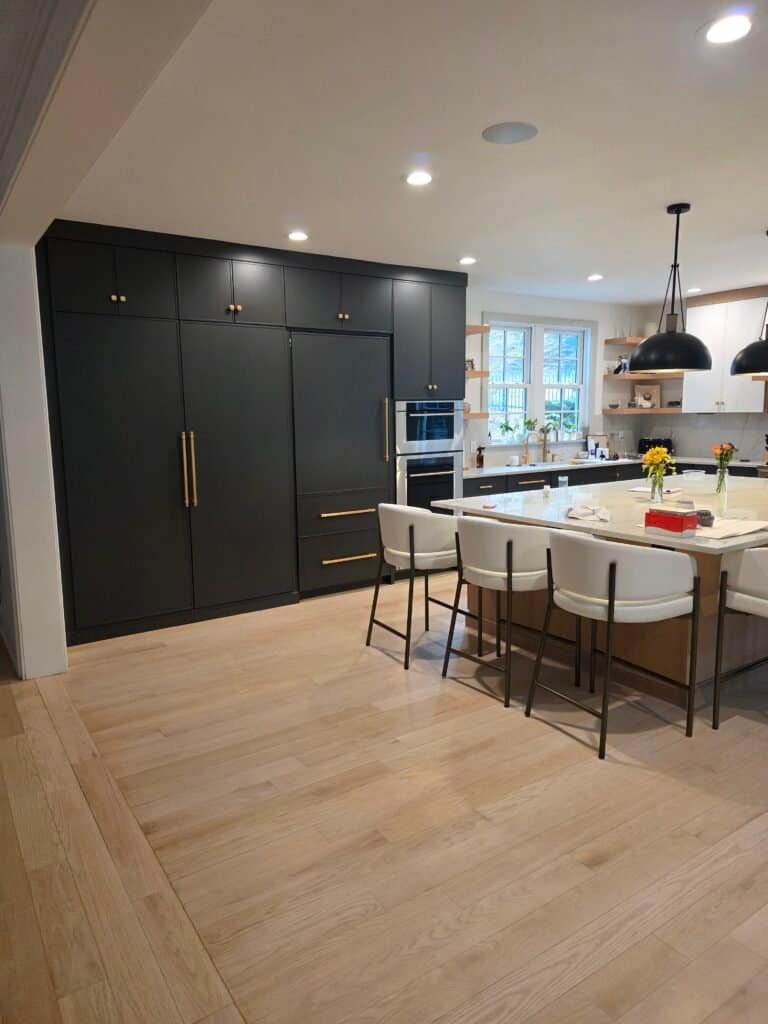
Crown molding is one of those finishing details that most people do not think about until they see a kitchen without it and something feels off. That gap between the top of the cabinets and the ceiling looks unfinished. The room feels like it is not quite done. When the molding is done right, the cabinets become part of the room instead of furniture sitting inside it.
We have been milling and installing crown molding on custom cabinetry in Pennsylvania for over 45 years. In that time we have developed strong opinions about what works, what does not, and why most stock molding from big-box stores looks cheap after a few years.
This guide walks through how we think about crown molding: how to size it correctly, which wood to use for different finishes, why the joint method matters more than most people realize, and what happens during a real installation in a home in Lancaster County, Chester County, or Philadelphia.
The Sizing Rule Most Installers Get Wrong
The most common mistake we see is under-sized molding in tall rooms. A 3-inch or 4-inch crown profile looks fine in a showroom. Installed in a kitchen with 10-foot ceilings, it looks like a thin strip of trim that got lost on the way up the wall. The room dwarfs it.
There is a simple sizing principle that has been used in architectural work for centuries. The total crown assembly, meaning the molding plus any build-up pieces below it, should represent roughly one-fifth to one-sixth of the room’s ceiling height. Here is what that looks like in practice:
- 9-foot ceiling (108 inches): The crown assembly should be 5 to 7 inches tall.
- 10-foot ceiling (120 inches): Aim for 6 to 8 inches.
- 12-foot ceiling (144 inches): A single molding strip will not hold visual weight at this height. You need a build-up assembly of 9 to 12 inches using multiple layered profiles.
When a client asks us to install a 4-inch crown in a 10-foot kitchen, we tell them honestly that it will look undersized. It is better to go without molding than to install proportions that work against the room.
How a Full Crown Build-Up Works
For rooms with higher ceilings or a more formal style, a single piece of molding is rarely enough. The classical approach uses three layers, each with a different role.
The frieze board
This is a flat piece of wood mounted directly to the cabinet or wall. It extends the height of the trim assembly downward, making the transition from cabinet to ceiling feel deliberate rather than abrupt. In older homes throughout Lancaster County and Chester County, where ceilings often have plaster waves and uneven surfaces, the frieze board is also where we do most of the scribing work to hide those imperfections.
The bed mold
This smaller profile sits at the top of the frieze board and visually supports the main crown piece above it. Traditional bed molds often have a dentil pattern. On simpler, more contemporary installations we sometimes skip it. It depends on the door style and the overall design of the kitchen.
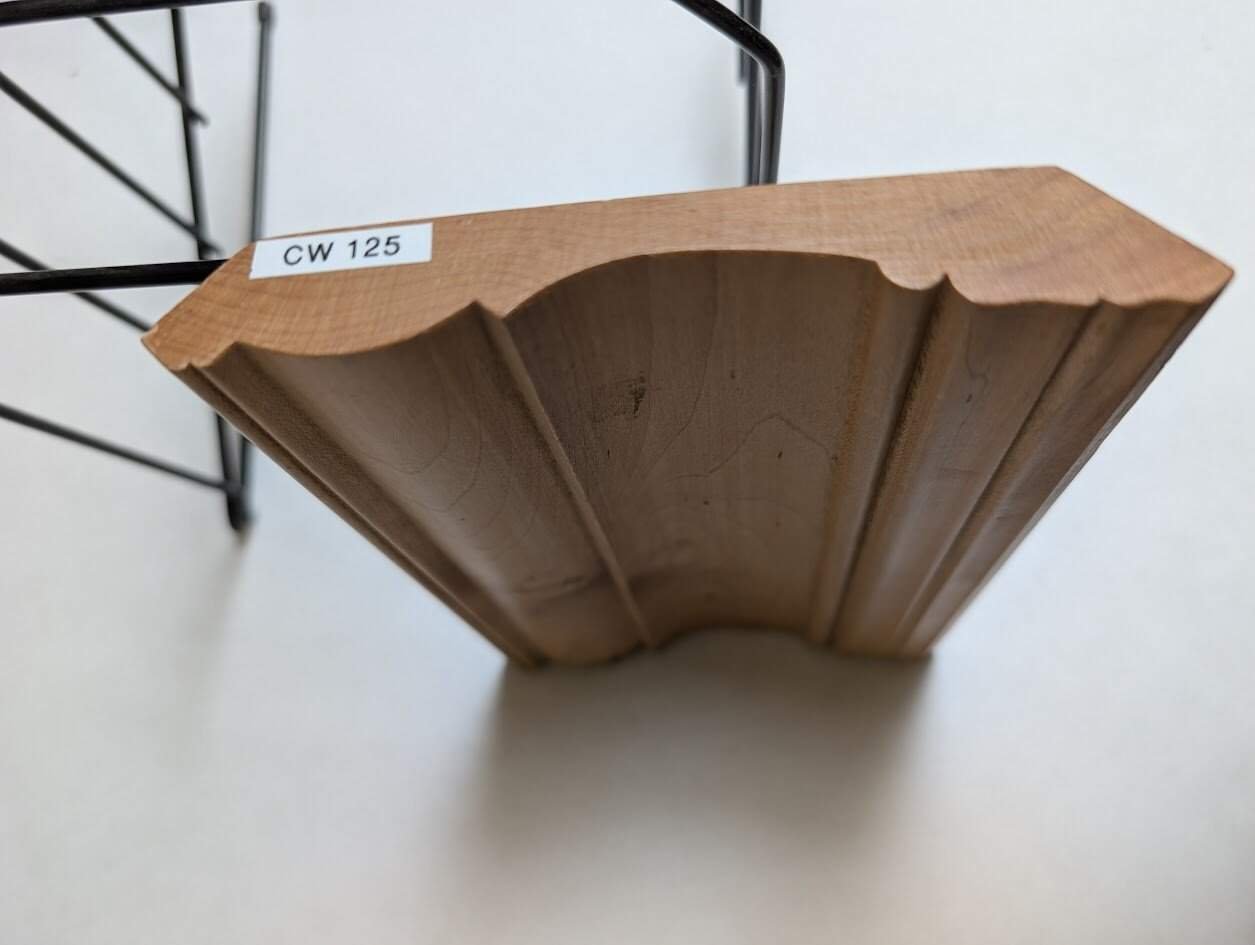
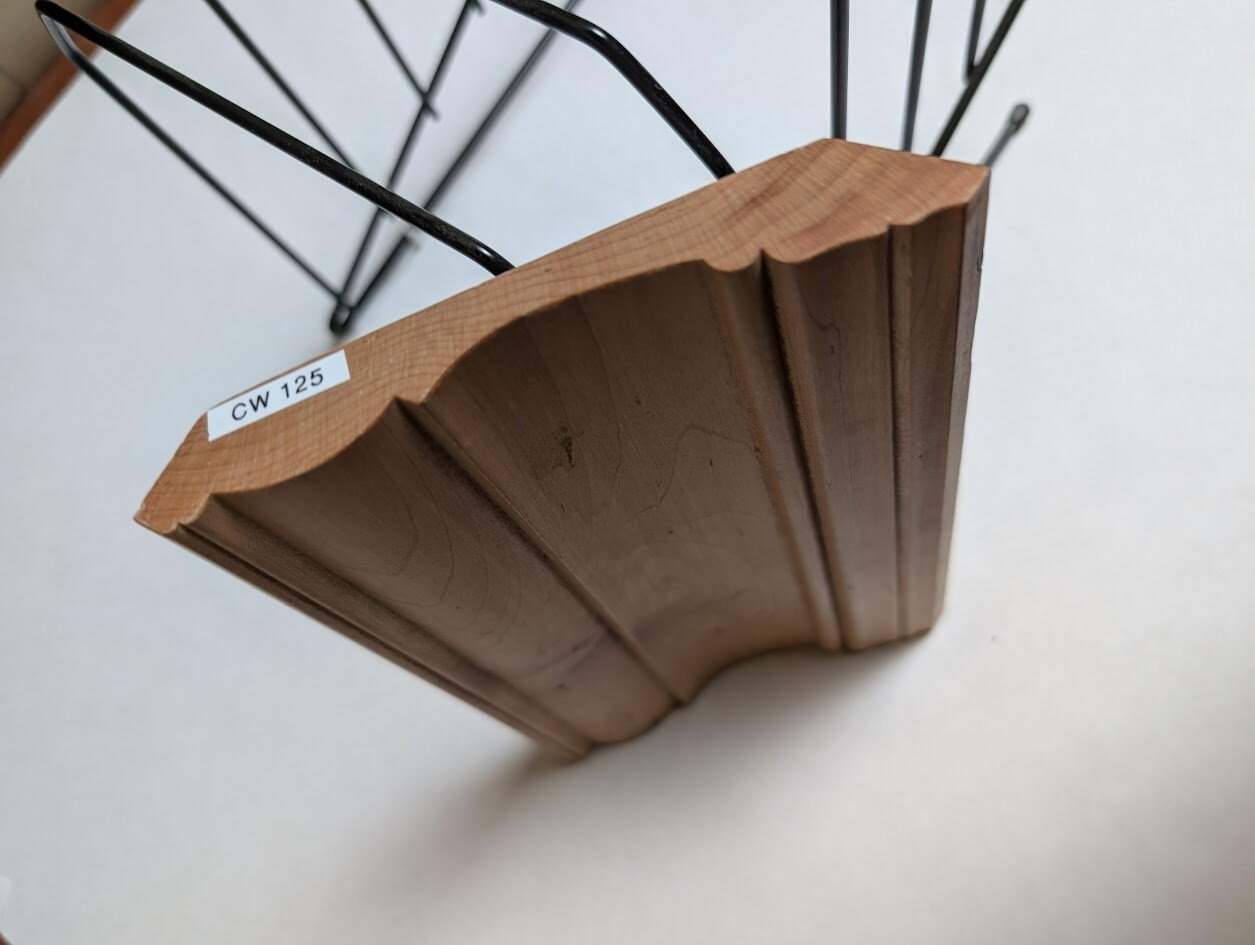
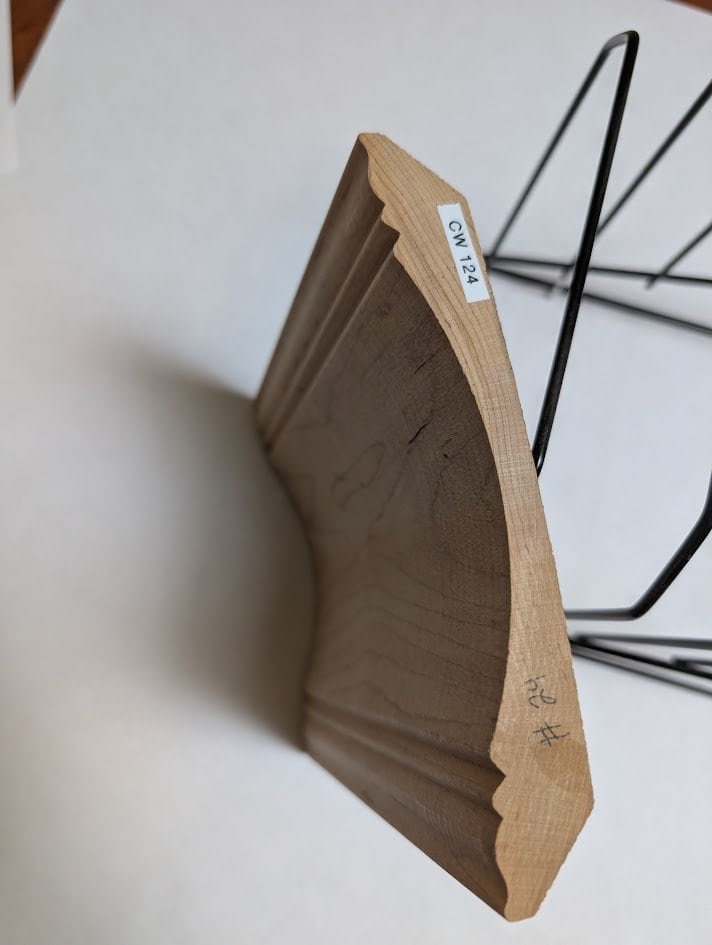
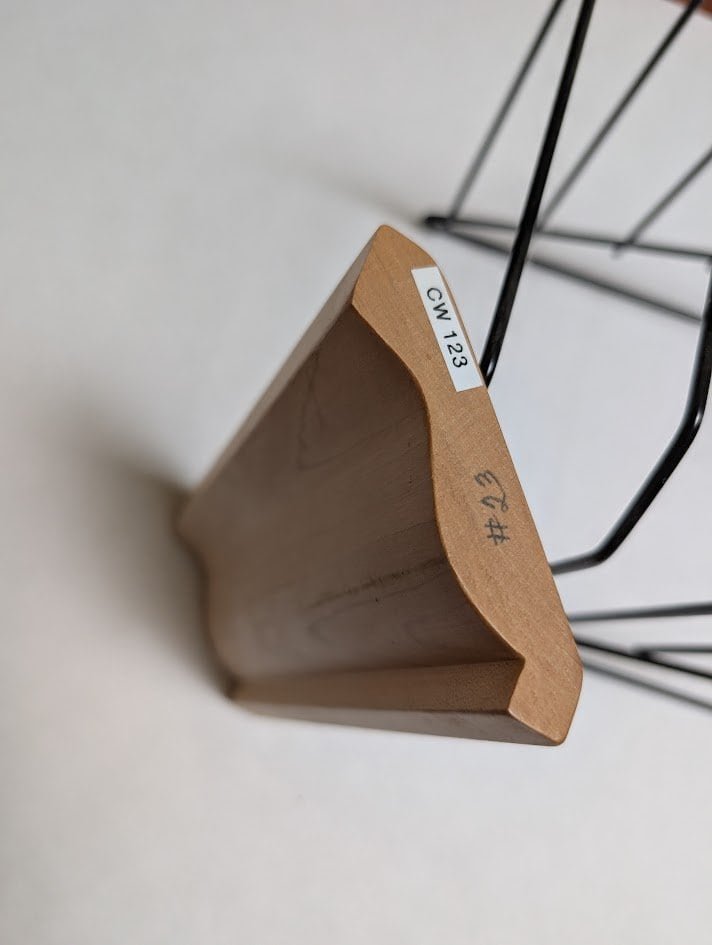
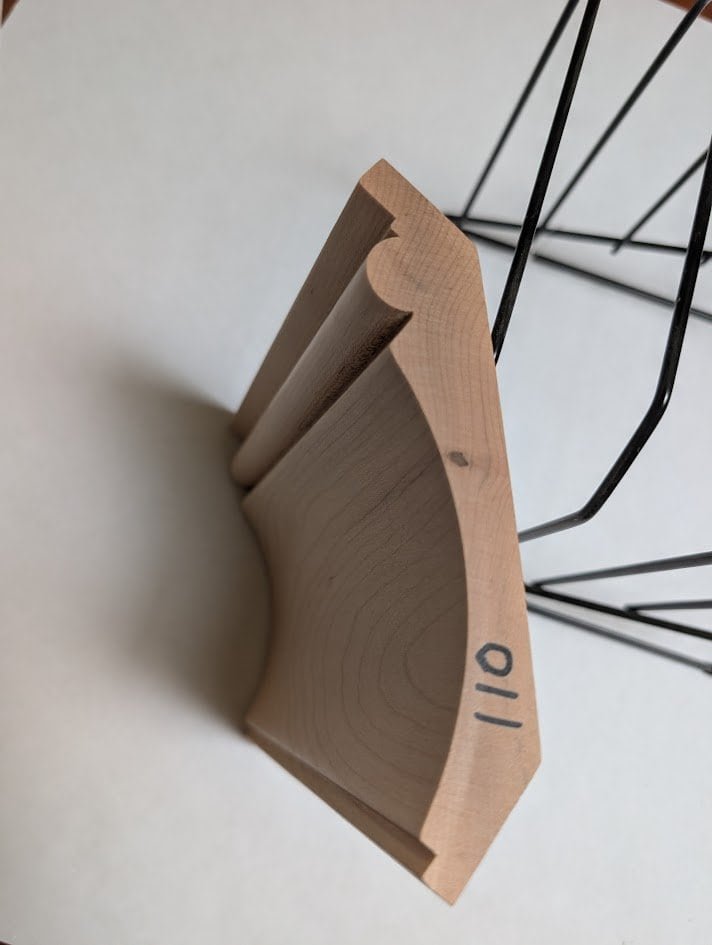
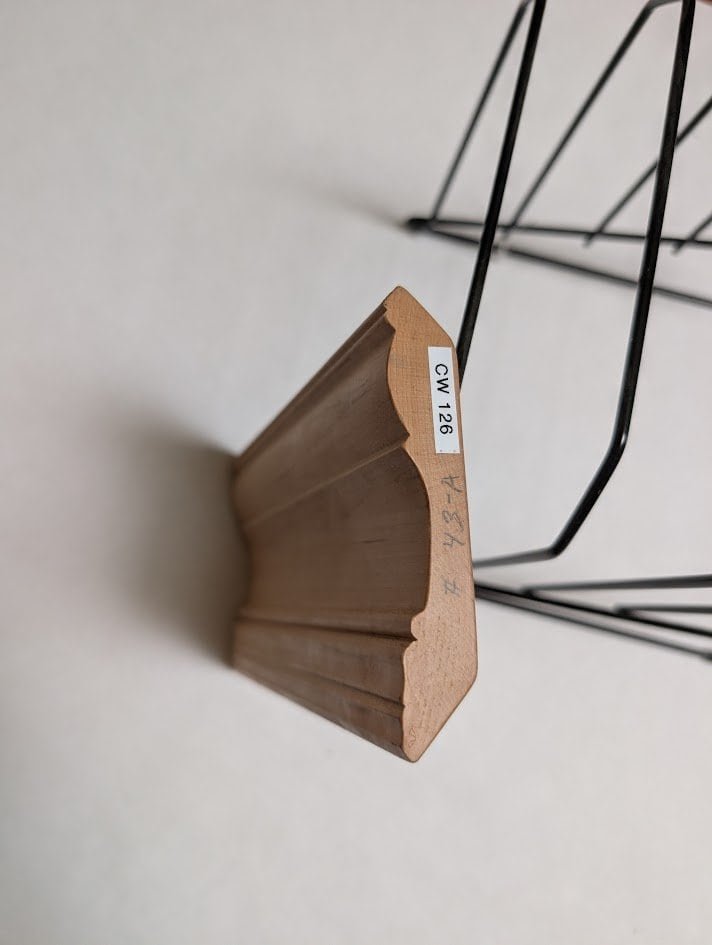
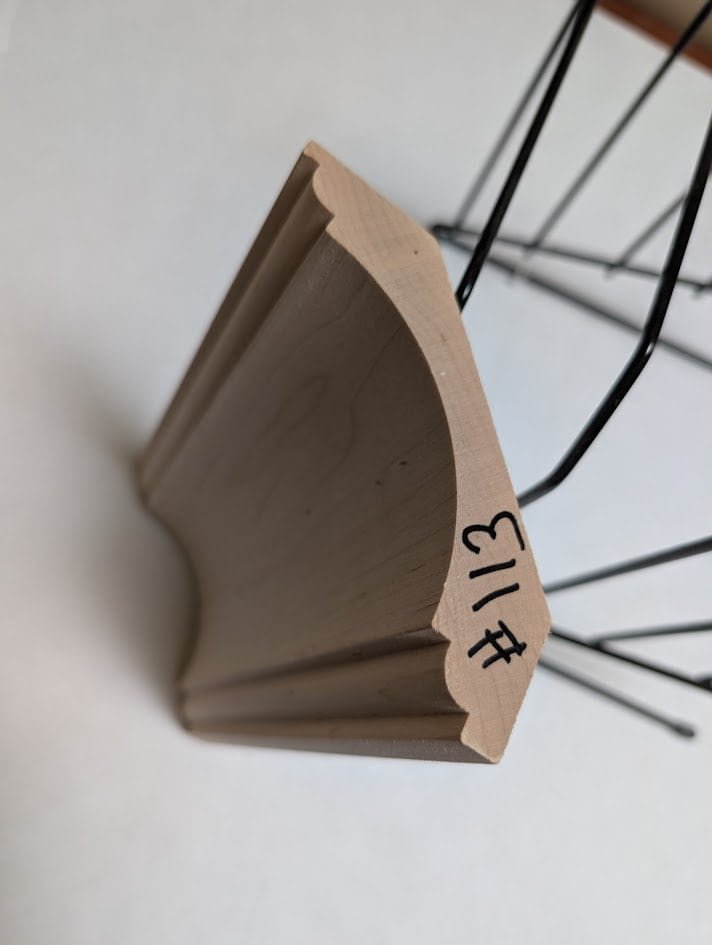
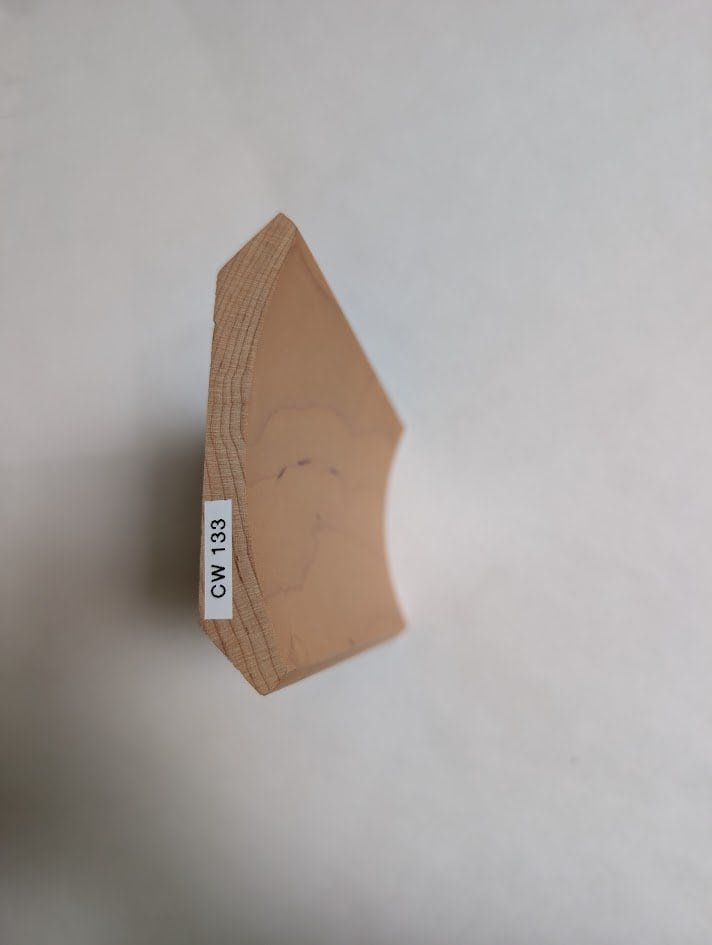
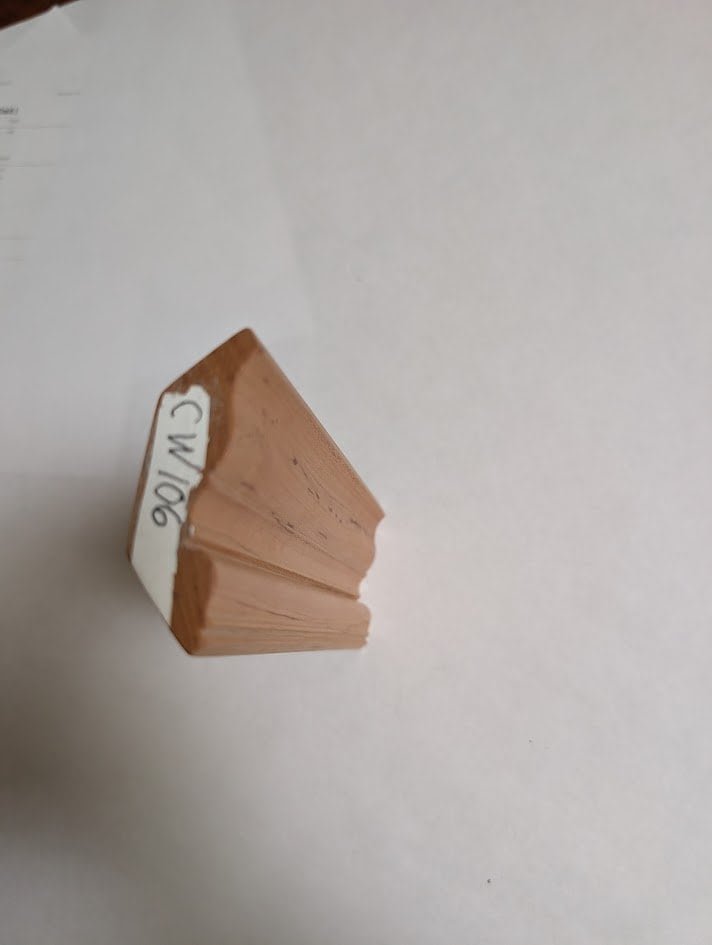
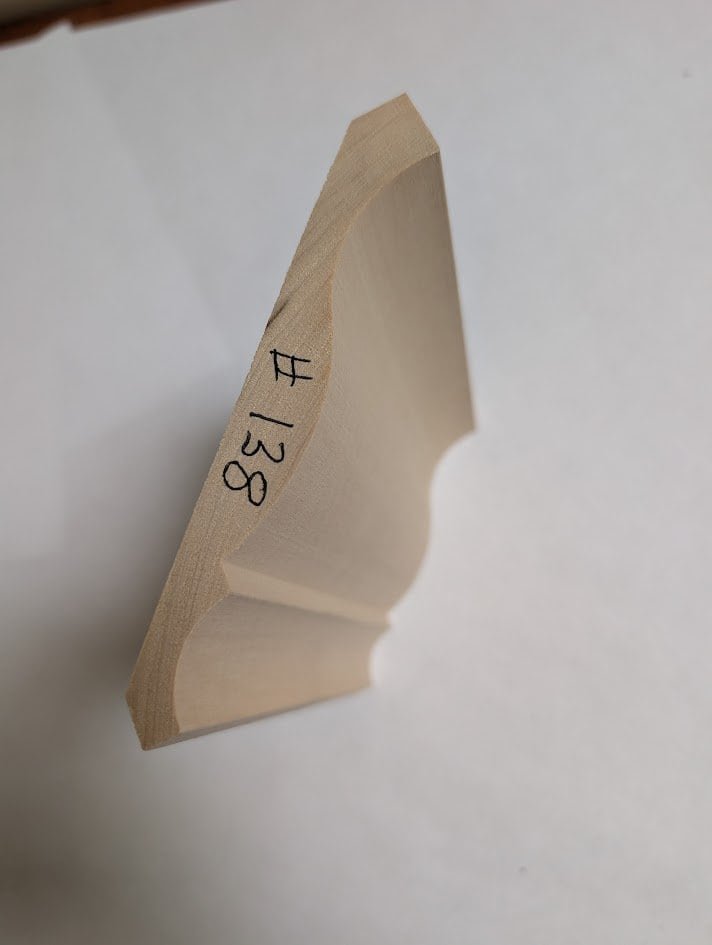
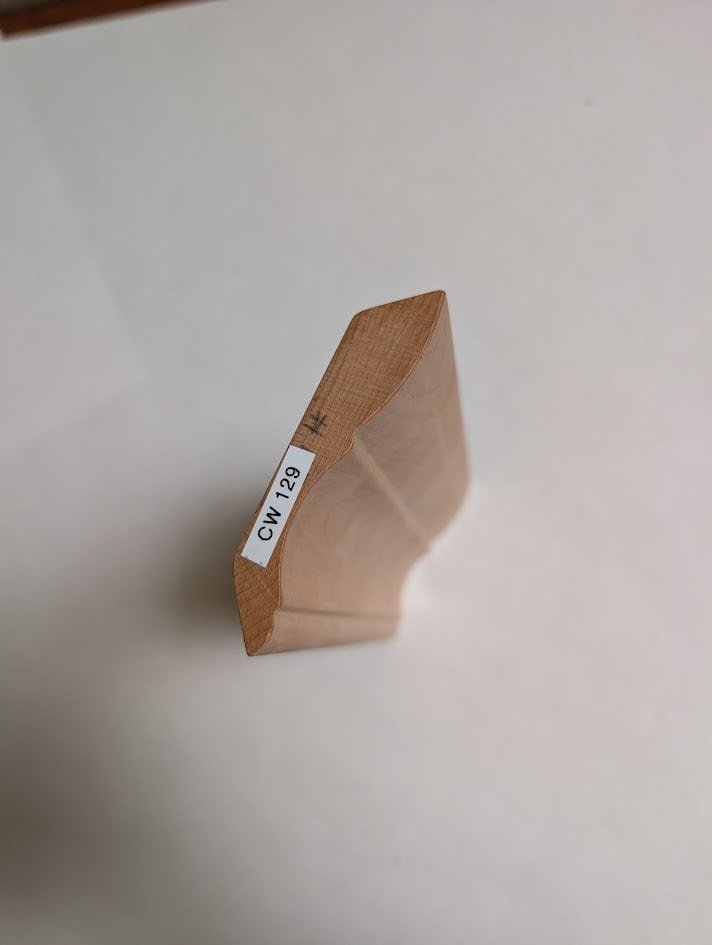
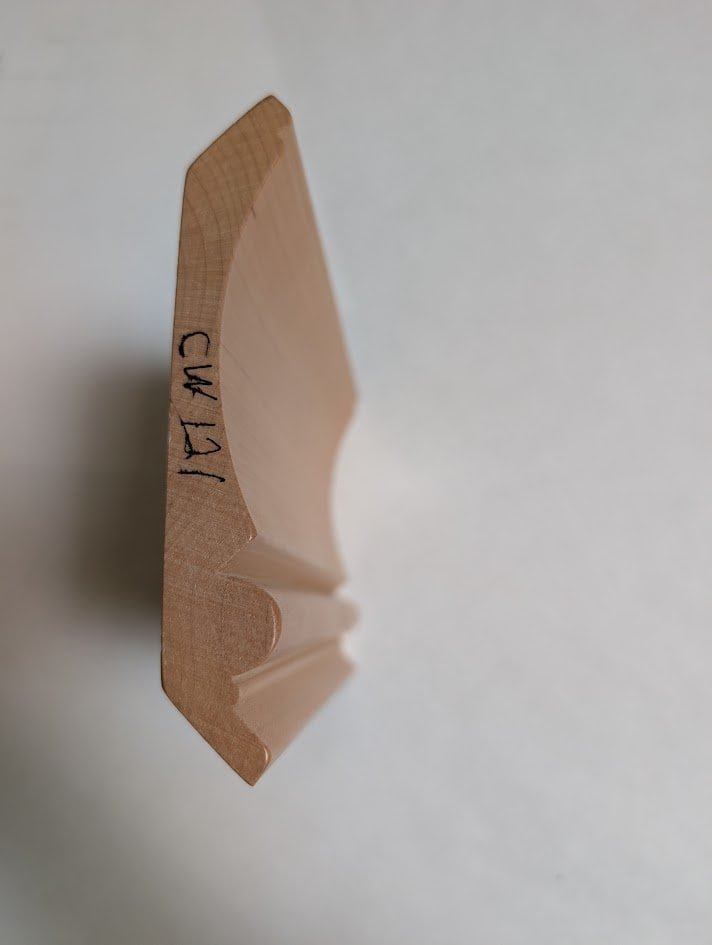
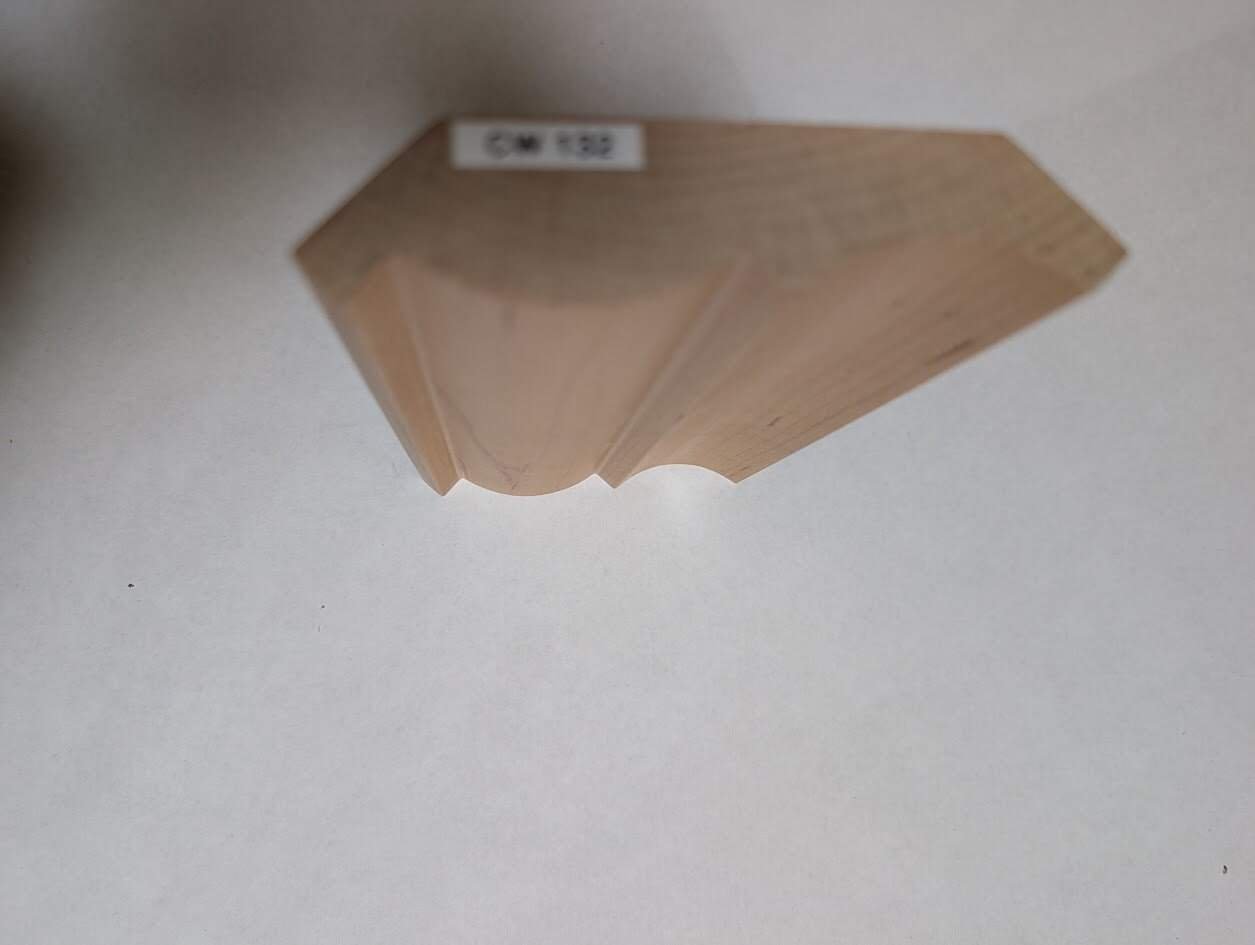
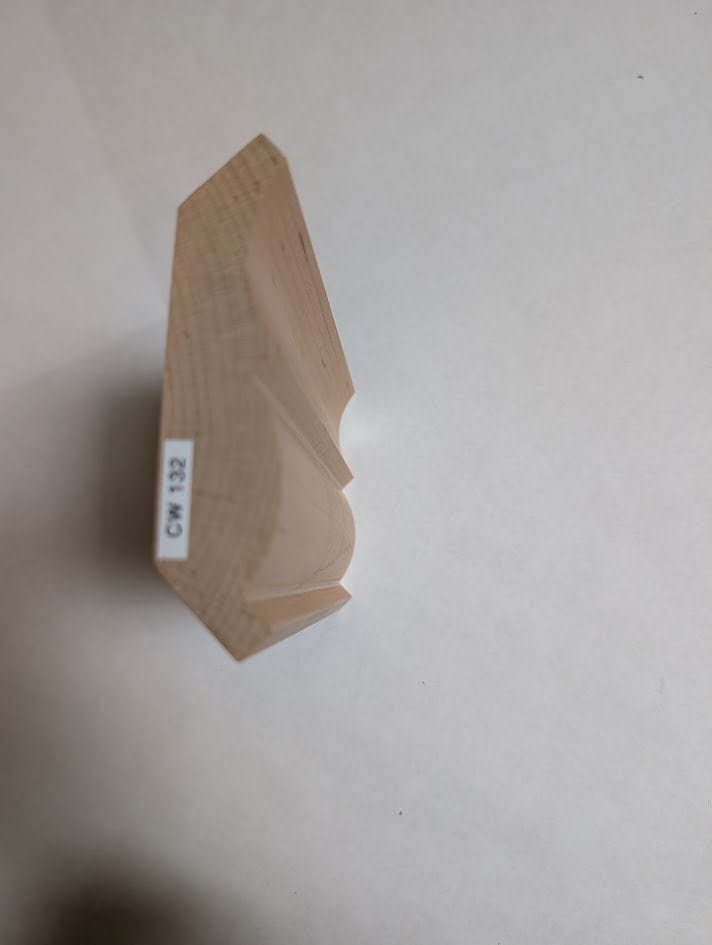
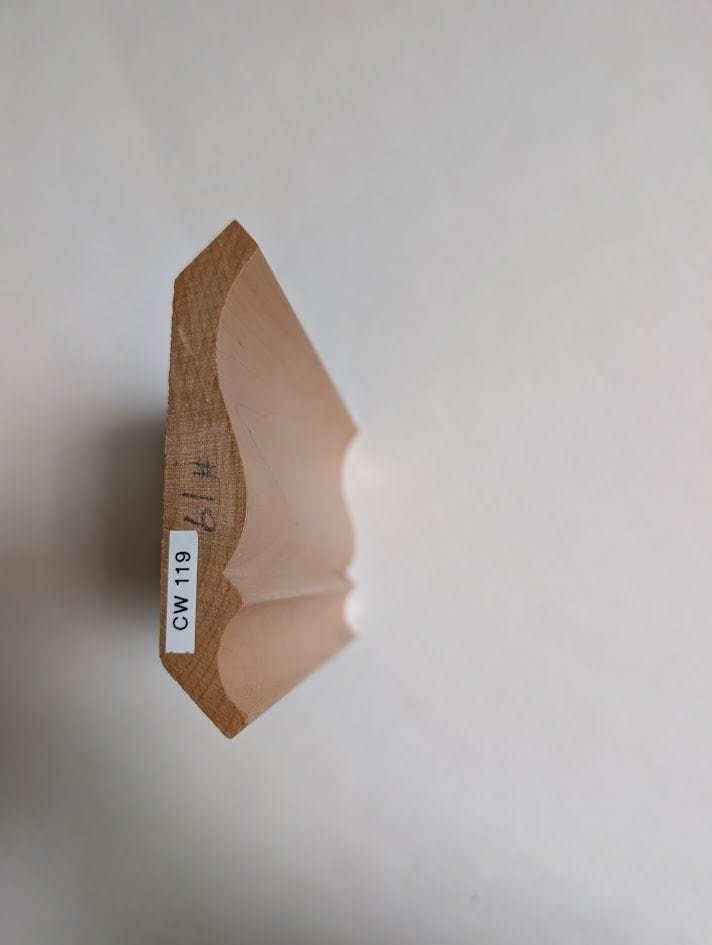
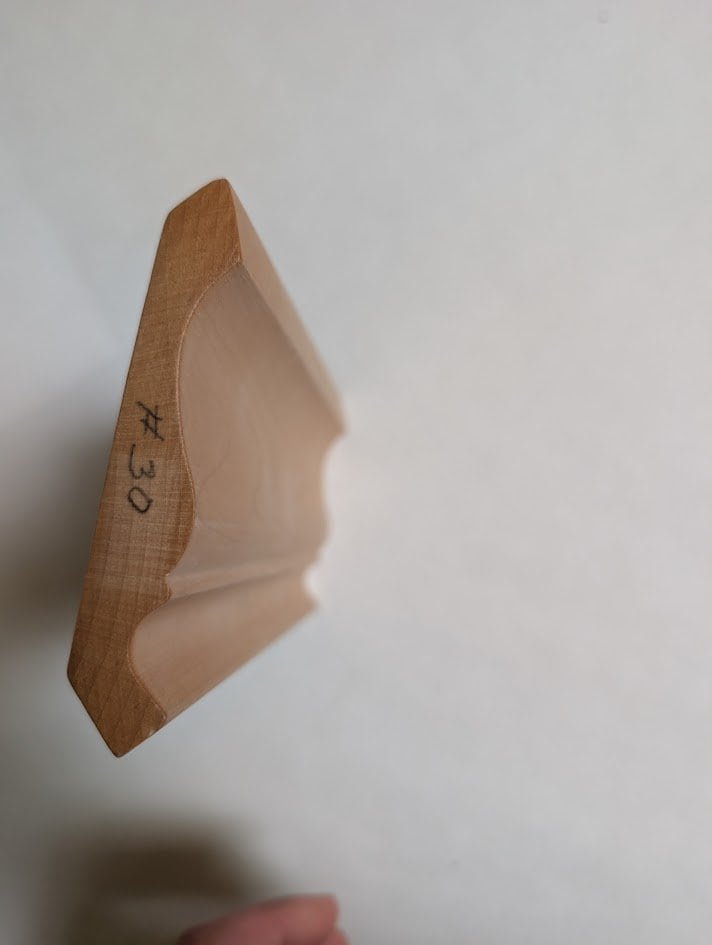
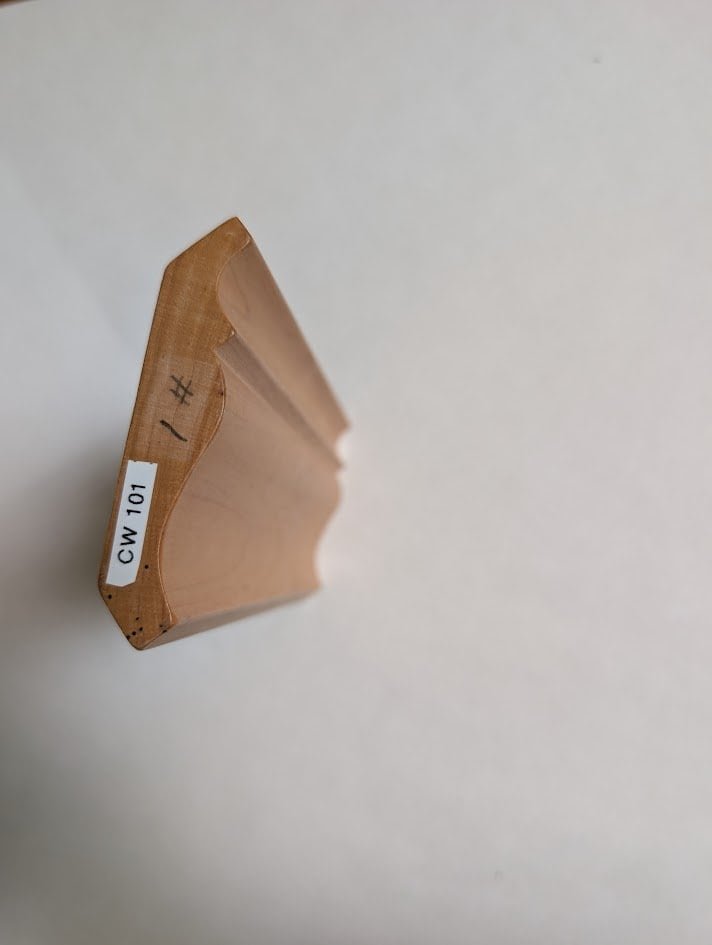
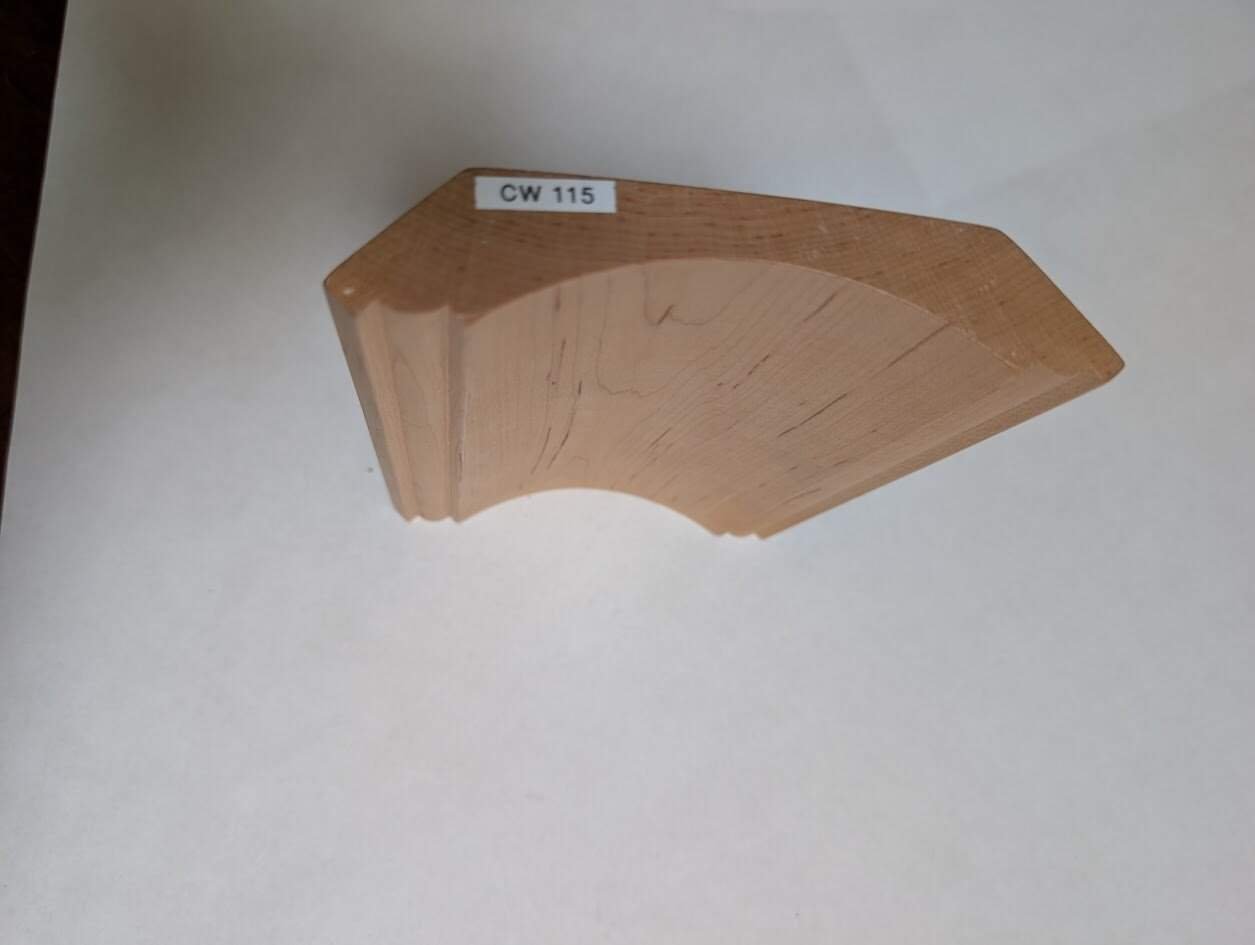
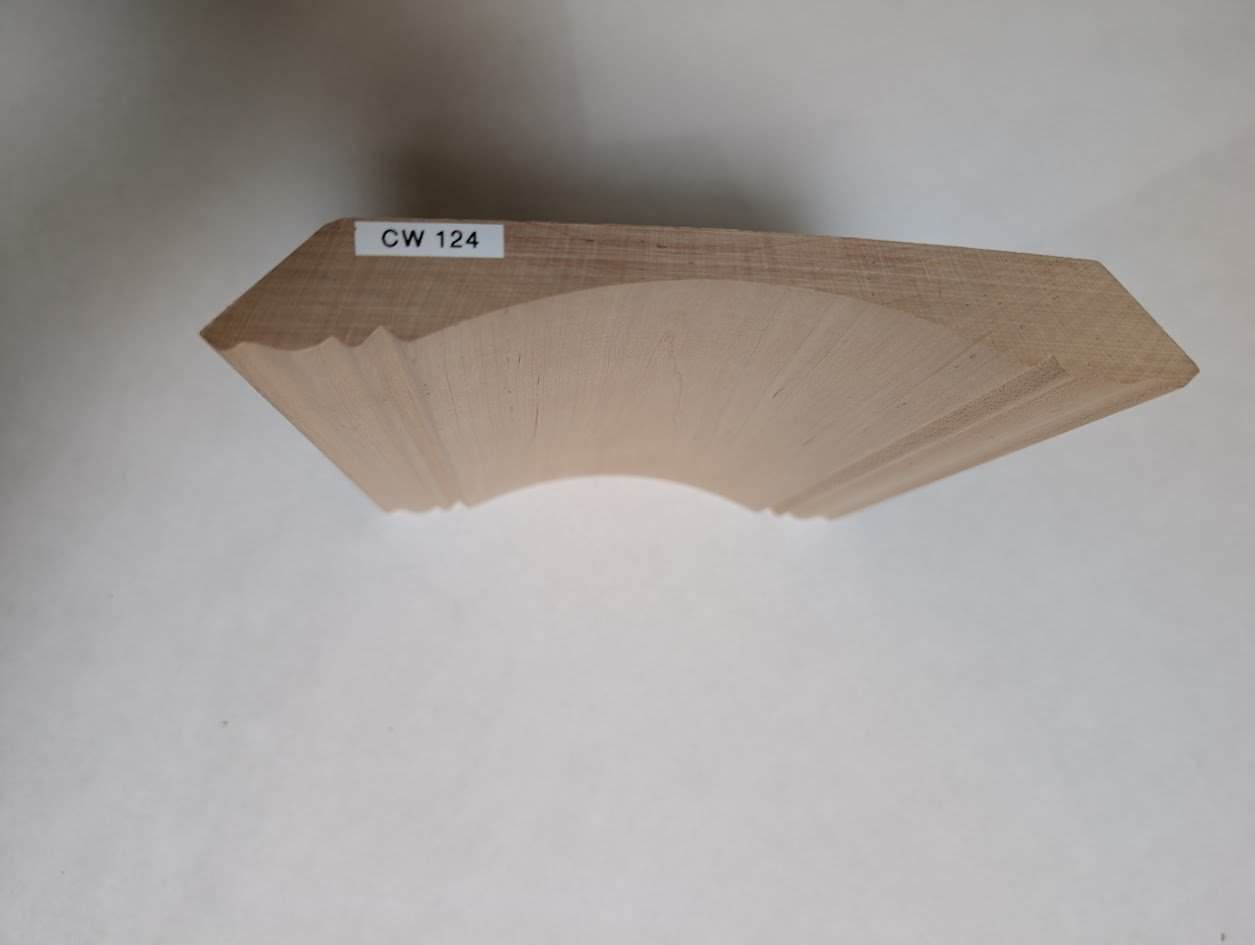
The crown profile
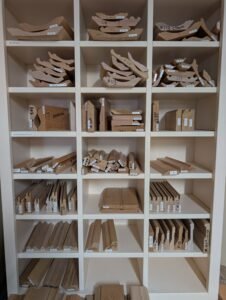
The main crown piece bridges the wall and ceiling. The profile choice here determines the character of the whole installation. A deep, curved cyma profile reads as traditional. A simpler, flatter spring profile reads as transitional or modern. We stock dozens of profiles in our Honey Brook shop and you can see and handle them in person at our showroom before choosing.
For context on how crown molding works within a floor-to-ceiling cabinet installation, see our guide to floor-to-ceiling cabinetry, which covers the scribing and two-piece crown system in more detail.
See examples of complex build-ups in our Project Gallery

Which Wood We Use and Why It Depends on the Finish
The wood species matters most when you are staining. For paint, the goal is a smooth, stable substrate. For stain, the goal is grain character. These two objectives require different materials.
For stained finishes
Rift-cut white oak is our most requested species for contemporary and transitional kitchens right now. The rift-cutting process produces a tight, straight grain with minimal figure, which gives a clean, linear look that works well with flat-panel cabinet doors and simple hardware. It is also more dimensionally stable than plain-sawn oak, meaning it moves less with seasonal humidity changes in Pennsylvania homes.
Quarter-sawn white oak is a step further in stability, and it reveals the characteristic ray fleck pattern that defines the Arts and Crafts aesthetic. If your kitchen leans toward that style, this is worth considering.
Walnut and cherry are the traditional choices for formal dining rooms and libraries. Both develop a patina over time: cherry darkens noticeably in the first year, walnut lightens slowly. We apply UV-inhibiting topcoats on both to slow the color shift.
For painted finishes
We use dense hardwoods, typically poplar or soft maple, not finger-jointed pine. Pine is soft and the joints between short pieces eventually telegraph through the paint as faint vertical lines, usually showing up after the first winter heating season. Poplar and maple are hard enough to resist denting, take primer without grain raising, and stay flat over time.
You can see how different wood species and finishes look across completed projects in our gallery, including the recent white kitchen project where we used painted poplar throughout.
Our material standards follow the guidelines of the Architectural Woodwork Institute, which sets the grading benchmarks used by serious cabinet shops across the country.
Why We Use Coped Joints Instead of Miter Joints
This is the detail that separates a professional installation from a DIY one, and most homeowners never notice it until a miter-jointed installation starts to gap.
A miter joint cuts both pieces of molding at 45 degrees and butts them together at the corner. It looks clean when first installed. The problem is wood movement. In Pennsylvania homes, the difference between summer humidity and winter dry heat causes wood to expand and contract across its width. A miter joint responds to that movement by pulling apart at the corner, leaving a visible gap that gets worse every winter.
We use coped joints on all inside corners. One piece is cut square and installed flat against the wall. The adjacent piece is cut to the exact profile of the first piece using a coping saw, then back-beveled slightly. When the two pieces meet, the coped piece overlaps the square-cut piece. When the wood shrinks in winter, the coped piece slides further over the gap rather than away from it. The corner stays tight.
It takes more time than mitering. On a full kitchen in a home in Chester County or Philadelphia, coping every inside corner might add an hour or two to the installation. We do it anyway because the joint holds for decades instead of two or three winters.
What Happens During a Real Installation
A few practical details that affect the outcome more than most people expect.
Blocking behind the drywall
For large crown assemblies, we install continuous wood blocking behind the drywall before the molding goes up. This gives us solid wood to nail into along the entire length of the wall rather than trying to find studs at the right spacing. On heavy build-up assemblies, nailing only into studs is not reliable enough over time.
Acclimation before installation
Wood installed at the wrong moisture content will move after installation. For Pennsylvania’s mid-Atlantic climate, interior woodwork should be at 6 to 8 percent moisture content before it goes up. We require the material to acclimate in the home with the HVAC running for at least 72 hours before installation. This is not optional. Wood installed too wet will shrink. Wood installed too dry will expand. Both outcomes cause problems.
16-foot lengths when possible
Standard lumber comes in 8 and 10-foot lengths. A long wall with 10-foot stock requires a scarf joint in the middle where the two pieces meet. No matter how well a scarf joint is executed, it eventually shows, especially on painted surfaces. We source 16-foot clear lumber when the wall length allows it so the molding runs uninterrupted from corner to corner.
Matching existing historic profiles
In older homes across Lancaster, Reading, Harrisburg, and York, clients sometimes want to extend or replace molding that matches original 19th or early 20th century profiles that are no longer commercially available. We take a physical sample, trace the geometry, and grind custom steel cutting knives for our moulder. We can replicate historic profiles to a very close tolerance. If you are working on a period home and want to match existing trim, bring a sample when you visit our Honey Brook showroom and we can tell you what is possible.
For more on how we approach material and construction standards across our full cabinet line, see our cabinet construction page.
Questions We Hear Most Often About Crown Molding
Do I need crown molding on my cabinets?
No, it is not required. Some contemporary kitchen designs intentionally skip crown molding for a cleaner, more minimal look, especially with flat-panel doors and high-gloss or white-painted cabinets. That said, in most traditional and transitional kitchens the molding completes the cabinet run and makes the space feel finished. We talk through this during the design consultation and show you examples of both approaches. Our design team can walk you through options specific to your ceiling height and door style.
How long does installation take?
For a standard kitchen in a home in Lancaster County or the Philadelphia suburbs, crown molding installation typically takes one to two days, depending on the room complexity, ceiling conditions, and whether scribing is required. A larger kitchen with high ceilings and a full three-piece build-up takes longer than a simple single-piece run on standard 9-foot ceilings.
Can you install crown molding on existing cabinets we already have?
In many cases, yes. If the existing cabinets have a solid top rail, we can attach a frieze board and crown assembly to them directly. The main variable is whether the existing cabinet construction can support the weight and fastening. We can assess this during a site visit. Request a quote and describe your existing setup and we will let you know what is feasible.
What is the difference between crown molding and light rail molding?
Crown molding runs along the top of the upper cabinet run where the cabinet meets the ceiling. Light rail molding runs along the bottom of the upper cabinets and is designed to conceal under-cabinet lighting strips. Both are part of a complete cabinet finish package. We mill and install both from the same material so they match exactly in grain and finish.
Do you supply and install, or can I supply my own molding?
We supply and install. We mill our own profiles or source from verified suppliers and we do not install materials we cannot stand behind. This keeps the responsibility for the finished result in one place, which is better for everyone.
Ready to Talk Through Your Kitchen or Cabinetry Project?
Crown molding is one of those details that is easiest to get right when it is decided early in the project, before the cabinets are built. Once the cabinet heights are set, your molding options are largely determined.
We work with homeowners across Lancaster, Chester County, Philadelphia, York, Harrisburg, Reading, and Lebanon. Consultations are free. You can start by visiting our showroom in Honey Brook, where we keep a full library of molding profiles in different wood species, or by requesting a quote online with some basic information about your project.
If you are also thinking about kitchen cabinetry, see our story and how we build to get a sense of the standards we hold ourselves to.
Curious about materials? Read why we build every box from solid wood kitchen cabinets and what that means for longevity.
The same rift stock we mill for molding builds full kitchens. See our quarter sawn and rift white oak cabinetry page.